If your FL Studio mic is only audible in one ear, it’s typically because a mono microphone signal is incorrectly routed to a stereo input in your Digital Audio Workstation (DAW). Most studio microphones are mono devices, capturing sound from a single point. To fix this, select a single mono input (e.g., “Input 1 (mono)”) in the FL Studio mixer, rather than a stereo pair like “Input 1/2.” This ensures the signal is correctly distributed to both left and right channels for balanced audio playback.
Understanding the “One-Ear” Mystery: Mono vs. Stereo
At the heart of this perplexing problem lies a fundamental concept in audio: mono versus stereo. For browse all home articles on this site.
What’s a Mono Signal?
A mono signal is a single channel of audio information, designed to be heard equally from both your left and right speakers or headphone drivers. Think of a single voice or a kick drum – these are typically mono sources.
Why Your Microphone is (Usually) Mono
Almost all studio microphones, whether dynamic, condenser, or ribbon, are inherently mono devices. They capture sound from one spatial point and convert it into a single electrical signal. Even if your microphone has an XLR cable connected to an audio interface with multiple inputs, that single mic still sends a single, mono signal.
The Illusion of Stereo Input
The confusion often arises because your audio interface and DAW (Digital Audio Workstation), like FL Studio, can handle stereo inputs. If your interface has two inputs (e.g., Input 1 and Input 2), it might offer input options like “Input 1,” “Input 2,” and “Input 1/2” (or “Stereo In”). When you select “Input 1/2” for a single mono microphone, FL Studio expects two separate signals but only receives one – from Input 1, or Input 2, depending on how it’s wired internally. This results in the sound being “hard-panned” to just one side, giving you that annoying “mic only in one ear” experience.
Step-by-Step Fix: Setting Up Your Mic Correctly in FL Studio
Now that we know the culprit, let’s walk through the steps to banish the one-ear wonder and get your microphone recording perfectly centered audio.
Check Your Audio Interface Settings
Before even opening FL Studio, ensure your audio interface drivers are installed correctly and that your interface is selected as the primary input/output device in your computer’s sound settings. Sometimes, outdated drivers or incorrect default device selections can cause unexpected routing issues.
The FL Studio Mixer: Your First Stop
The FL Studio Mixer is where the magic happens and where you’ll most likely solve your issue.
- Open the Mixer: You can open the Mixer by pressing
F9on your keyboard or by navigating toView > Mixer. - Select an Insert Track: Choose an empty mixer insert track (or the one you intend to record on).
- Choose the Correct Input: Look at the “IN” section at the top of the selected mixer track. This is the most crucial step for fixing your “FL Studio mic only in one ear” problem. Instead of selecting a stereo option like “Input 1/2” or “Input L/R,” you must select a single mono input corresponding to where your microphone is plugged into your audio interface. If your mic is in the first input of your interface, choose “Input 1 (mono).” If it’s in the second, choose “Input 2 (mono),” and so on. “Many aspiring producers mistakenly choose a stereo input expecting their single microphone to magically become stereo,” says Clara Reed, a renowned sound design expert. “But by selecting the correct mono input, you’re telling FL Studio to treat that single signal as intended, spreading it evenly across both channels.”
Centering Your Mono Signal (Stereo Separation Knob)
|
Our Picks for the Best Studio Mic in 2026
As an Amazon Associate I earn from qualifying purchases.
|
||
| Num | Product | Action |
|---|---|---|
| 1 | USB Microphone, MAONO 192KHZ/24Bit Plug & Play PC Computer Podcast Condenser Cardioid Metal Mic Kit with Professional Sound Chipset for Recording, Gaming, Singing, YouTube (AU-A04) |

|
| 2 | Condenser Microphone,PC Computer Podcast USB Condenser Microphone Cardioid Metal Mic Kit for Recording, Podcasting, Home Studio, YouTube, Black, BM-800 |
|
| 3 | Shure SM7B Vocal Dynamic Microphone – XLR Studio Mic for Podcasting, Recording, Broadcasting, Streaming & Gaming – Smooth, Warm Sound, Rugged Build, Detachable Windscreen, Wide Frequency Range, Black |
|
| 4 | Upgraded Studio Recording Microphone with Isolation Shield & Pop Filter - Music Condenser Mic for Podcasting, Singing, Home Studio - Sound for PC, Laptop, Smartphone |
|
| 5 | AKG Pro Audio P120 - Affordable 2/3-Inch Diaphragm Condenser Microphone for Clear Vocals & Instruments. Studio Recording or Live. XLR Connector. Black |
|
| 6 | Studio Recording Microphone Isolation Shield with Pop Filter and Metal Tripod Stand, Studio Mic to PC Laptop Smartphone, Music Microphone for Recording Singing Podcasting |
|
| 7 | Shure SM4 Studio Recording Microphone Kit, XLR Home Studio Condenser Mic with Mix-Ready Audio - All-Metal Construction, Includes Detachable Magnetic Pop Filter & Shock Mount (SM4-K-KIT) |
|
| 8 | RØDE NT1 Signature Series Large-Diaphragm Condenser Microphone with Shock Mount, Pop Filter and XLR Cable for Music Production, Vocal Recording, Streaming and Podcasting (Black) |
|
| 9 | Audio-Technica AT2020 Cardioid Condenser Studio XLR Microphone, Ideal for Project/Home Studio Applications, Black |
|
| 10 | RØDE NT1 5th Generation Large-diaphragm Studio Condenser Microphone with XLR and USB Outputs, Shock Mount and Pop Filter for Music Production, Vocal Recording and Podcasting (Black) |
|
Once you’ve selected the correct mono input, your microphone signal should now be coming through both ears. However, if it still feels slightly off-center or you want to ensure it’s perfectly mono, you can use the Stereo Separation knob on the mixer track.
- Locate the Stereo Separation knob at the bottom of the selected mixer insert track. It’s typically labeled with a stereo field icon.
- Turn this knob all the way to the right (100% merged). This will force the incoming mono signal to be perfectly centered and equally distributed to both the left and right channels, eliminating any lingering “one-ear” sensations.
Rescuing Existing Recordings: Fixing Audio Already in One Ear
What if you’ve already recorded a fantastic take, but it’s stuck in one ear? Don’t worry, you don’t have to re-record! FL Studio offers powerful tools to fix this in post-production.
Using Fruity Stereo Shaper for Instant Balance
The Fruity Stereo Shaper is your best friend for converting a single-channel recording into a balanced stereo image.
- Insert Fruity Stereo Shaper: On the mixer track where your one-sided audio is routed, open an empty FX slot and load the
Fruity Stereo Shaperplugin. - Choose a Preset: Inside the Fruity Stereo Shaper, you’ll find several helpful presets. If your audio is only in the Left ear, select the
LR to LLpreset. This will take the left channel (which has your audio) and duplicate it to both the left and right outputs, effectively centering your mono sound. If your audio is only in the Right ear, select theLR to RRpreset. This does the same, but for the right channel. - Adjust as Needed: After applying the preset, your audio should now be playing equally through both ears. You can tweak the knobs within the plugin if you want more control, but these presets often do the trick instantly.
The Stereo Separation Knob for Post-Recording Fixes
Just like with live input, the Stereo Separation knob can also rescue recorded audio clips.
- Route the Audio Clip: Ensure your recorded audio clip is routed to a mixer insert track.
- Adjust the Knob: On that mixer track, turn the Stereo Separation knob all the way to the right (100% merged). This will sum the left and right channels (even if one is silent) into a perfectly centered mono signal, making your recording audible in both ears.
Pro Tips to Avoid the “One-Ear” Problem Forever
Prevention is always better than cure. Here are some pro tips to ensure your FL Studio mic setup is flawless every time:
- Double-Check Input Settings Before Recording: Make it a habit to quickly glance at your mixer input settings every time you start a new recording session. A quick check can save you hours of troubleshooting later.
- Understand Your Audio Interface: Familiarize yourself with your specific audio interface. Know which input corresponds to which channel and if it has any dedicated mono/stereo toggles in its control panel.
- Use Quality Cables: While less common, faulty or incorrect cabling can sometimes cause signal issues. Ensure you’re using balanced XLR cables for your studio microphones.
- “Smart Disable” Plugin: FL Studio has a “Smart Disable” option for plugins, which can sometimes mute or interfere with audio processing, especially if a plugin is handling stereo information. If you’re still having issues, try temporarily disabling “Smart Disable” in
Options > Audio Settingsto see if it resolves the problem, then re-enable it selectively.
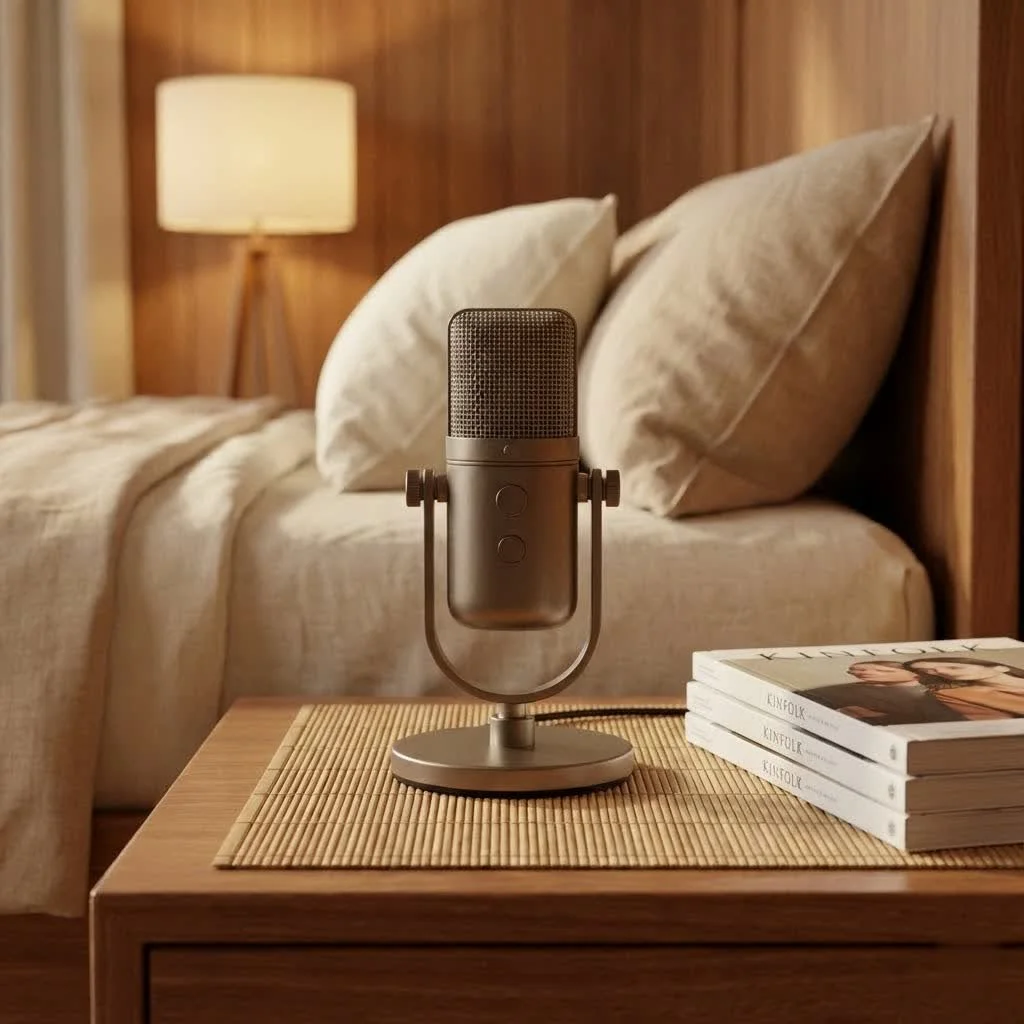
Common Studio Mic Types and How They Relate to Mono/Stereo
Understanding microphone types can further clarify why your studio mic is inherently a mono device.
- Dynamic Microphones: These robust workhorses, like the Shure SM57 or SM58, are designed for durability and excellent sound capture in live and studio settings. They are always mono.
- Condenser Microphones: Known for their sensitivity and detailed sound capture, large-diaphragm and small-diaphragm condensers (e.g., Rode NT1, Neumann U87) are staple studio mics. They too are fundamentally mono.
- Ribbon Microphones: Offering a warm, vintage sound, ribbon mics are also mono devices, known for their unique figure-8 polar pattern.
- When Are Mics Stereo? True stereo microphones are rare and typically consist of two microphone capsules placed in a specific configuration (like X/Y or M/S) within a single housing. These are designed to capture a stereo soundfield and would indeed output two distinct channels. However, the vast majority of individual studio microphones are mono, and this is the context of the “one-ear” issue.
Conclusion
Dealing with your FL Studio mic only appearing in one ear can be a real buzzkill, but as we’ve seen, it’s a common and easily solvable issue rooted in how mono microphone signals are interpreted in a stereo digital audio environment. By correctly configuring your input in the FL Studio mixer and understanding the distinction between mono and stereo signals, you’ll be well on your way to capturing professional-sounding, balanced audio every single time. Don’t let this minor hurdle derail your creative flow; embrace these tips, experiment with your settings, and keep those tracks sounding epic. Now go forth, record with confidence, and share your perfectly balanced sonic creations with the world!
Get our weekly buyer guide
Practical specs, not advice. Unsubscribe anytime.
Great advice for a common problem. I’ve run into this ‘one-ear’ mystery before with different DAWs, but it’s particularly annoying in FL Studio. The clear steps on how to select a single mono input instead of a stereo pair were really helpful. My recordings sound much more balanced now, which is crucial for mixing.
This was a lifesaver! I’ve been pulling my hair out trying to figure out why my new studio mic was only coming through in one ear in FL Studio. The explanation about mono vs. stereo inputs made so much sense. Switched to ‘Input 1 (mono)’ in the mixer and boom, perfect sound in both ears. Highly recommend this fix if you’re having the same issue.
Finally, a straightforward solution! I was about to buy a new interface thinking mine was broken because my vocals were always off-center. The simple fix of changing the input to a mono channel like ‘Input 1’ in the FL Studio mixer completely resolved it. My tracks sound professional and centered now. Thanks for saving me money and frustration!
The information about mono microphone signals being routed to stereo inputs was correct and did help me understand the problem. However, I still had a bit of trouble finding the exact setting in my specific version of FL Studio. It took some extra digging in the menus, but eventually I got it working. A few more screenshots for different FL Studio versions would have made it a 5-star for me.