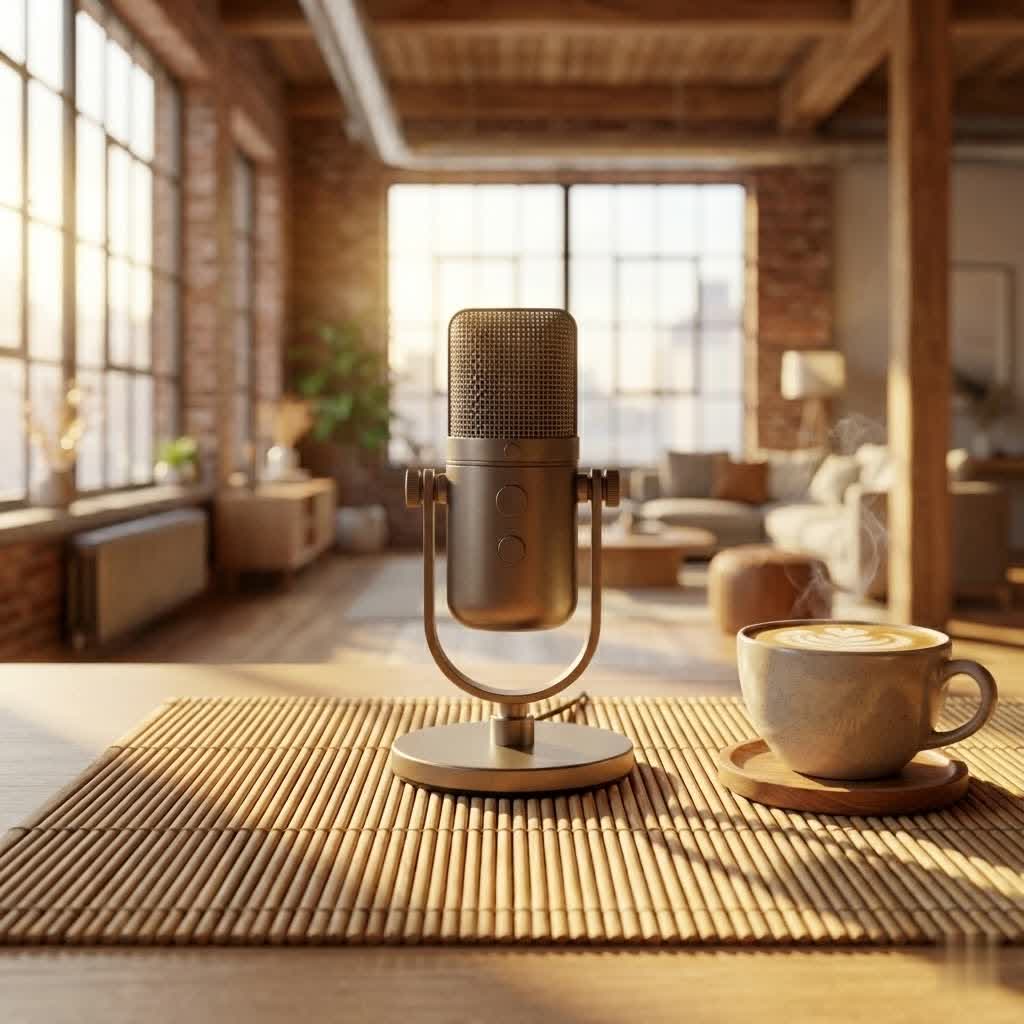
In the intricate world of audio production, where every nuance matters, it’s easy to obsess over microphones, preamps, and converters, sometimes forgetting the humble yet vital link in the chain: the Studio Mic Cord. It’s not just a piece of wire; it’s the lifeline that carries your precious audio signal, shaping its quality and resilience against interference. A great studio microphone cord doesn’t just connect two pieces of gear; it ensures your sound arrives exactly as intended, pure and uncompromised.
As a seasoned audio engineer with over a decade in the trenches of music and broadcast, I’ve seen firsthand how the right mic cord can elevate a recording and how a poor one can wreak havoc. Here at Tmava, we believe in empowering you with deep knowledge, and today, we’re diving into everything you need to know about this essential piece of studio gear.
Understanding the Anatomy of a Studio Mic Cord
At the heart of most professional studio setups, you’ll find the venerable XLR cable, often simply referred to as a studio mic cord. But what makes it so special?
What is an XLR Cable?
An XLR cable is characterized by its distinct three-pin connector, which has become the industry standard for professional audio connections, especially for microphones. This isn’t just a design choice; it’s fundamental to its superior performance.
The magic lies in its balanced audio transmission. Unlike unbalanced cables (which typically have two conductors: a signal and a ground), XLR cables boast three pins:
- Pin 1: Ground/Shield
- Pin 2: Positive signal (hot)
- Pin 3: Negative signal (cold)
|
Our Picks for the Best Studio Mic in 2026
As an Amazon Associate I earn from qualifying purchases.
|
||
| Num | Product | Action |
|---|---|---|
| 1 | Shure SM7B Vocal Dynamic Microphone – XLR Studio Mic for Podcasting, Recording, Broadcasting, Streaming & Gaming – Smooth, Warm Sound, Rugged Build, Detachable Windscreen, Wide Frequency Range, Black |

|
| 2 | Condenser Microphone,PC Computer Podcast USB Condenser Microphone Cardioid Metal Mic Kit for Recording, Podcasting, Home Studio, YouTube, Black, BM-800 |
|
| 3 | Shure SM4 Studio Recording Microphone Kit, XLR Home Studio Condenser Mic with Mix-Ready Audio - All-Metal Construction, Includes Detachable Magnetic Pop Filter & Shock Mount (SM4-K-KIT) |
|
| 4 | RØDE NT1 Signature Series Large-Diaphragm Condenser Microphone with Shock Mount, Pop Filter and XLR Cable for Music Production, Vocal Recording, Streaming and Podcasting (Black) |
|
| 5 | Audio-Technica AT2020 Cardioid Condenser Studio XLR Microphone, Ideal for Project/Home Studio Applications, Black |
|
| 6 | AKG Pro Audio P120 - Affordable 2/3-Inch Diaphragm Condenser Microphone for Clear Vocals & Instruments. Studio Recording or Live. XLR Connector. Black |
|
| 7 | RØDE NT1 5th Generation Large-diaphragm Studio Condenser Microphone with XLR and USB Outputs, Shock Mount and Pop Filter for Music Production, Vocal Recording and Podcasting (Black) |
|
| 8 | Studio Recording Microphone Isolation Shield with Pop Filter and Metal Tripod Stand, Studio Mic to PC Laptop Smartphone, Music Microphone for Recording Singing Podcasting |
|
| 9 | Upgraded Studio Recording Microphone with Isolation Shield & Pop Filter - Music Condenser Mic for Podcasting, Singing, Home Studio - Sound for PC, Laptop, Smartphone |
|
| 10 | USB Microphone, MAONO 192KHZ/24Bit Plug & Play PC Computer Podcast Condenser Cardioid Metal Mic Kit with Professional Sound Chipset for Recording, Gaming, Singing, YouTube (AU-A04) |
|
This balanced design allows the cable to carry two identical audio signals, but with one of them inverted in polarity. When these signals reach your audio interface or mixer, the receiving device inverts the negative signal back to positive and combines it with the original positive signal. Any noise or interference picked up along the cable’s journey, which affects both signals equally (known as common-mode noise), is effectively canceled out when the signals are combined. This common-mode rejection is precisely why XLR cables are the go-to for studio environments, especially over longer cable runs, keeping your sound pristine.
Beyond XLR: Other Connectors You Might Encounter
While XLR reigns supreme for microphones, you might encounter other cable types, each with its own purpose:
- TRS (Tip-Ring-Sleeve): Often confused with XLR, TRS cables also support balanced audio, commonly used for line-level signals to connect studio monitors, headphones, or certain instruments. They come in 1/4-inch (6.35mm) and 1/8-inch (3.5mm) sizes. An XLR-to-TRS adapter cable can bridge the gap between balanced XLR outputs and TRS inputs on some devices.
- TS (Tip-Sleeve): These 1/4-inch cables are unbalanced and primarily used for electric guitars, basses, and other instrument-level signals. They are not suitable for microphones in a studio setting due to their susceptibility to noise.
- TRRS (Tip-Ring-Ring-Sleeve): Adding an extra “ring” for a microphone signal, these are typically found on headphones with built-in mics for smartphones and consumer devices.
- USB: Many modern microphones, particularly for podcasting and home recording, offer a USB connection, bypassing the need for traditional XLR cables and audio interfaces by digitizing the audio within the microphone itself.
- Multi-pin XLR: Beyond the common 3-pin, you’ll find 4-pin, 5-pin, or even 7-pin XLR connectors used for specialized applications like intercom systems, stage lighting, or powering tube microphones, which require additional conductors for their specific voltage needs.
The Core Elements of a High-Performance Studio Mic Cord
A studio mic cord isn’t just about the connectors; it’s what’s inside that truly counts. High-quality construction directly translates to superior sound.
Conductors: The Pathway for Your Sound
The conductors are the actual wires carrying your audio signal.
- Oxygen-Free Copper (OFC): This is the gold standard. OFC conductors are purified to remove oxygen impurities, which can degrade the signal over time. The purer the copper, the better the conductivity and the more transparent your sound.
- Gauge (AWG): This refers to the wire’s thickness. While thicker wires (lower AWG numbers) generally offer lower resistance and better signal integrity, especially over long runs, there’s a balance to strike with flexibility. For most studio mic applications, a good balance of gauge and flexibility is key.
- Litz vs. Solid Core: Some premium cables might feature Litz construction, where each strand is individually insulated, preventing the “skin effect” that can affect high frequencies. Others use a combination, like Studio Projects’ hybrid Litz/Solid Core, aiming for optimal resolution across the frequency spectrum.
Shielding: Your First Line of Defense Against Noise
Think of shielding as the cable’s armor against electromagnetic interference (EMI) and radio frequency interference (RFI) – the unwanted hums and buzzes that can ruin a recording. Common shielding types include:
- Braided Shield: Excellent for durability and flexibility, offering good coverage.
- Spiral Shield: More flexible than braided but can offer slightly less coverage when bent.
- Foil Shield: Provides 100% coverage but is less flexible and can be prone to cracking with repeated bending.
- Conductive Plastic/Textile: Used in some cables, often alongside copper drain wires.
The goal is always 100% coverage to ensure maximum noise rejection. For even greater protection, especially in environments with high RF/EMI noise, quad cables are a fantastic option. These cables use four conductors (two for positive, two for negative) arranged in a twisted pair configuration, offering superior noise cancellation compared to standard balanced cables. Mogami Gold Studio cables are renowned for their quad design.
Insulation (Dielectric): Keeping Signals Separate
The insulation material surrounding the conductors, often called the dielectric, plays a crucial role. Materials like Polyethylene and Polypropylene are favored for their low dielectric constant, which helps minimize cable capacitance – a hidden saboteur of high-frequency audio. Good insulation also prevents “microphonics,” where handling the cable can induce unwanted noise.
Jacket: Durability Meets Flexibility
The outer jacket protects the cable’s delicate internal components from physical damage. Materials like PVC and durable rubber compounds ensure flexibility for easy routing while standing up to the rigors of studio life. A robust jacket prevents kinking and ensures the cable maintains its integrity for years.
Connectors: The Critical Connection Points
The connectors themselves are paramount.
- Professional Standards: Brands like Neutrik and Rean are industry benchmarks, known for their robust construction and reliable connections.
- Gold-Plated Contacts: Gold is an excellent conductor and, more importantly, resistant to corrosion, ensuring optimal signal transfer over time.
- Secure Locking Mechanism: A firm latch on XLR connectors prevents accidental disconnections, crucial during intense recording sessions or live performances.
- Angled Connectors: In tight studio racks or confined spaces, angled XLR connectors can be a lifesaver, allowing for neat and safe cable routing without excessive bending.
Decoding Performance: Impedance, Capacitance, and Length
Understanding these technical aspects will help you make informed decisions when buying and using your studio mic cords.
Impedance: The Flow of Signal
Microphones are typically low-impedance (low-Z) devices (usually less than 200 ohms). This is a distinct advantage because low-impedance signals are less susceptible to noise and signal degradation over long cable runs. High-impedance signals, common in instrument cables, lose high frequencies and pick up more noise over distance. This is why you’d never use an instrument cable as a microphone cable.
Capacitance: The Silent Signal Killer
Cable capacitance is the ability of a cable to store an electrical charge. Every cable has it, measured in picofarads per meter (pF/m). Typical microphone cables have a capacitance of around 100 pF/m.
“Think of cable capacitance like a tiny, invisible sponge soaking up your audio signal, especially those delicate high frequencies,” explains expert audio engineer Eleanor Vance, Chief Audio Architect at Sonic Innovations. “The longer your cable, the bigger the sponge, and the more high-end detail you risk losing. It essentially acts as a low-pass filter, gently rolling off your treble.”
This effect becomes more pronounced with longer cable runs. While a 10-foot cable might have negligible impact, a 100-foot cable could noticeably dull your sound by introducing significant high-frequency roll-off. Always aim for the shortest practical cable length to preserve signal integrity.
Phantom Power and Your Cable
Condenser microphones require phantom power, a +48V DC current supplied by your mixer or audio interface through pins 2 and 3 of the XLR cable. This constant voltage powers the microphone’s internal electronics without interfering with the audio signal. It’s crucial to use XLR cables with an adequate insulation voltage rating (typically 60V or higher) to ensure safe and reliable operation with phantom power, preventing premature cable degradation or noise.
Choosing the Right Studio Mic Cord for Your Needs
Selecting the perfect studio mic cord isn’t a one-size-fits-all scenario. It depends on your specific setup and priorities.
- Consider Your Microphone Type:
- Dynamic Mics: Generally less sensitive to cable quality, but still benefit from balanced, shielded cables for noise rejection.
- Condenser Mics: Crucially rely on good cables for phantom power delivery and minimal capacitance to maintain their often detailed high-frequency response.
- Ribbon Mics: Extremely sensitive and high-end, demanding the absolute best in shielding and low capacitance to preserve their delicate sound.
- Studio vs. Live: Studio cables prioritize signal purity and low noise. Live sound cables also need extreme durability to withstand constant coiling, uncoiling, and potential abuse on stage.
- Length Matters: As discussed, shorter is generally better for signal quality. Only buy the length you truly need, plus a little extra for flexibility in routing. Avoid excessively long cables that introduce unnecessary capacitance.
- Budget vs. Quality: While it’s tempting to save money on cables, it’s often a false economy. Cheap cables break easily, introduce noise, and degrade your sound. Brands like Mogami, Canare, Pro Co, and Hosa Pro offer excellent options across various price points, with Mogami Gold and Canare Star Quad often cited as top-tier for professional studios. Investing in quality cables is like insuring your audio chain.
Best Practices for Cable Care and Maintenance
Even the best studio mic cords won’t last if not properly cared for. These practices will extend their life and ensure consistent performance.
- Proper Coiling: The “Over-Under” Technique: This is hands-down the best way to coil cables. Instead of twisting the cable, the over-under method prevents internal conductor damage, maintains cable integrity, and makes uncoiling smooth and tangle-free. It’s an essential skill for any audio professional.
- Storage:
- Avoid Tight Bends: Never tightly wrap cables, especially near the connectors, as this can strain and break internal wires.
- Use Velcro Ties: Secure coiled cables neatly with Velcro ties, not electrical tape, which leaves sticky residue.
- Protective Caps: For XLR connectors not in use, consider protective caps to keep out dust and moisture.
- Handling:
- Pull from the Connector: Always grasp the connector firmly when unplugging a cable, never pull on the cable itself, which can damage the internal wiring or the connector’s solder points.
- Avoid Physical Stress: Don’t let heavy objects rest on your cables, and never run equipment over them. Avoid swinging wired microphones by their cables.
- Cleaning:
- Cable Jackets: Gently wipe the cable jacket with a damp cloth (plain water is often sufficient) to remove dirt and grime. Avoid harsh chemical solvents that can degrade the jacket material.
- Connectors: For a deeper clean on metal connectors, a small amount of denatured alcohol on a cloth works well as it evaporates quickly, ensuring no moisture lingers. Avoid getting liquids into the pin holes.
- Inspection: Make it a habit to regularly inspect your cables for any visible signs of wear and tear, such as fraying, kinks, or damaged connectors. Early detection can prevent signal dropouts or intermittent issues.
- Environmental Factors: Store cables in a temperature-controlled, low-humidity environment. Extreme heat, cold, or moisture can accelerate material degradation.
Frequently Asked Questions (FAQ)
Q: What’s the difference between XLR and TRS for microphones?
A: XLR cables are the primary choice for professional microphones, offering a balanced, three-pin connection that effectively rejects noise over long distances. TRS (Tip-Ring-Sleeve) cables can also be balanced, often used for line-level signals to connect equipment like studio monitors, but they are generally less robust for microphone connections than XLR.
Q: How long can a studio mic cord be before I lose quality?
A: The effective length depends on cable quality (especially its capacitance) and the microphone’s output impedance. While high-quality balanced XLR cables can run for hundreds of feet with minimal degradation, excessive length introduces increased capacitance, which can subtly roll off high frequencies. For most studio setups, keeping mic cables under 50 feet is a good rule of thumb to preserve optimal signal integrity.
Q: Are expensive microphone cables really worth it?
A: Absolutely. While budget cables might work for basic tasks, investing in quality studio mic cords with superior shielding, conductors, and connectors provides better noise rejection, improved signal clarity, and greater durability. This means fewer troubleshooting headaches and a more consistent, professional sound in the long run.
Q: How do I properly coil my mic cable?
A: The “over-under” coiling technique is recommended. Hold one end, create the first loop by going “over” the cable with your hand, then rotate your wrist to create the second loop by going “under” the cable. Alternate these motions, maintaining the cable’s natural twist, to prevent kinks and internal damage.
Q: Can I use an instrument cable as a microphone cable?
A: No, you should not. Instrument cables are typically unbalanced and designed for high-impedance instrument signals. Microphones are low-impedance devices and require balanced cables (like XLR) to prevent noise and signal degradation, especially over longer distances. Using an instrument cable with a microphone will likely result in a noisy and compromised signal.
Q: What is a quad mic cable?
A: A quad mic cable is a type of balanced XLR cable that features four conductors (two for the positive signal and two for the negative signal) instead of the standard two. This quad configuration offers enhanced noise rejection, particularly against electromagnetic and radio frequency interference, making it an excellent choice for critical studio applications where ultimate signal purity is desired.
The Final Connection
The studio mic cord, often overlooked, is a powerhouse component of any professional audio setup. It’s the silent workhorse that ensures your microphone’s captured sound travels faithfully to your recording gear. Understanding its anatomy, appreciating its technical nuances, and committing to proper care are not just good practices; they are essential for achieving the pristine audio quality you strive for.
By choosing wisely and treating your studio mic cords with the respect they deserve, you’re not just buying a cable – you’re investing in the clarity, integrity, and longevity of your sound. So, next time you plug in, remember the unsung hero, the studio mic cord, and let its quality empower your creativity. Share your favorite cable stories and tips with us at Tmava.com – we’d love to hear how you keep your studio connections pristine!