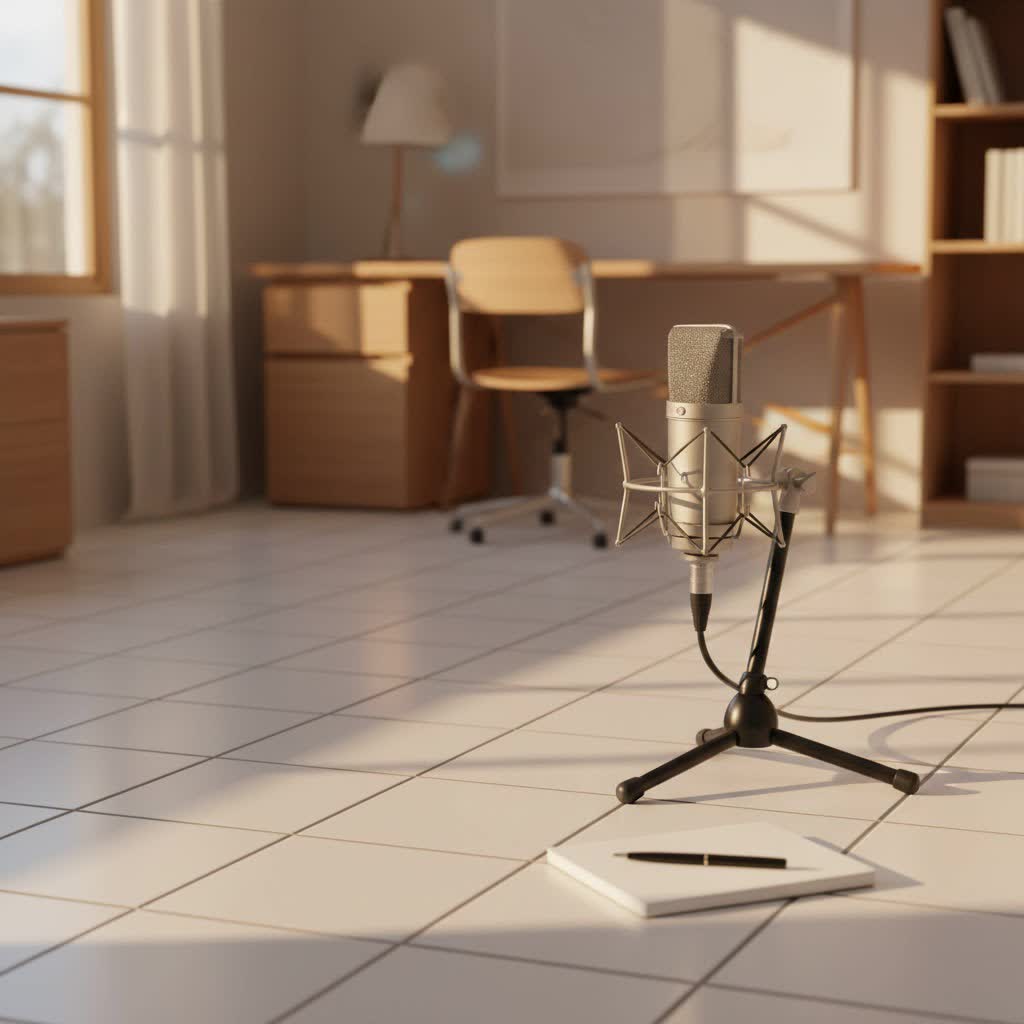
Welcome to Tmava.com, your trusted hub for all things audio! Whether you’re a seasoned audio engineer or just starting your journey into the world of professional sound, understanding the nuances of a Studio Mic is absolutely crucial. Think of your microphone as the ears of your recording setup—it’s the first, and arguably most important, link in your audio chain. A great studio mic can capture every detail, every emotion, and every subtle texture, transforming a simple performance into a captivating sonic experience. But with so many options out there, how do you choose the right one, use it effectively, and keep it in top condition? Let’s dive deep into the fascinating world of studio microphones and empower you to capture pristine audio every time.
Decoding the Studio Mic Universe: Types and Their Magic
When we talk about a studio mic, we’re not just talking about one kind of device. There’s a whole family, each with its own unique personality and sonic fingerprint. Understanding these differences is your first step towards making informed choices.
Condenser Microphones: The Detail Magnets
These are often the go-to for studio recording, and for good reason. Condenser mics are incredibly sensitive, designed to pick up the most delicate nuances of sound. They feature a lightweight diaphragm that vibrates with sound waves, creating an electrical signal.
- Pros: Exceptional detail, wide frequency response, excellent transient response (capturing fast sounds like drum attacks).
- Cons: Often require phantom power (+48V), more fragile, can be expensive.
- Best For: Vocals, acoustic instruments (guitar, piano), drum overheads, delicate sound sources where clarity and detail are paramount. Think of them as high-resolution cameras for your sound.
|
Our Picks for the Best Studio Mic in 2026
As an Amazon Associate I earn from qualifying purchases.
|
||
| Num | Product | Action |
|---|---|---|
| 1 | Condenser Microphone,PC Computer Podcast USB Condenser Microphone Cardioid Metal Mic Kit for Recording, Podcasting, Home Studio, YouTube, Black, BM-800 |

|
| 2 | RØDE NT1 Signature Series Large-Diaphragm Condenser Microphone with Shock Mount, Pop Filter and XLR Cable for Music Production, Vocal Recording, Streaming and Podcasting (Black) |
|
| 3 | Shure SM4 Studio Recording Microphone Kit, XLR Home Studio Condenser Mic with Mix-Ready Audio - All-Metal Construction, Includes Detachable Magnetic Pop Filter & Shock Mount (SM4-K-KIT) |
|
| 4 | RØDE NT1 5th Generation Large-diaphragm Studio Condenser Microphone with XLR and USB Outputs, Shock Mount and Pop Filter for Music Production, Vocal Recording and Podcasting (Black) |
|
| 5 | Upgraded Studio Recording Microphone with Isolation Shield & Pop Filter - Music Condenser Mic for Podcasting, Singing, Home Studio - Sound for PC, Laptop, Smartphone |
|
| 6 | USB Microphone, MAONO 192KHZ/24Bit Plug & Play PC Computer Podcast Condenser Cardioid Metal Mic Kit with Professional Sound Chipset for Recording, Gaming, Singing, YouTube (AU-A04) |
|
| 7 | AKG Pro Audio P120 - Affordable 2/3-Inch Diaphragm Condenser Microphone for Clear Vocals & Instruments. Studio Recording or Live. XLR Connector. Black |
|
| 8 | Shure SM7B Vocal Dynamic Microphone – XLR Studio Mic for Podcasting, Recording, Broadcasting, Streaming & Gaming – Smooth, Warm Sound, Rugged Build, Detachable Windscreen, Wide Frequency Range, Black |
|
| 9 | Studio Recording Microphone Isolation Shield with Pop Filter and Metal Tripod Stand, Studio Mic to PC Laptop Smartphone, Music Microphone for Recording Singing Podcasting |
|
| 10 | Audio-Technica AT2020 Cardioid Condenser Studio XLR Microphone, Ideal for Project/Home Studio Applications, Black |
|
Dynamic Microphones: The Workhorses of the Studio
If condenser mics are the meticulous artists, dynamic mics are the reliable laborers. They’re robust, can handle high sound pressure levels (SPLs), and are less sensitive than condensers. They work using a coil of wire attached to a diaphragm, moving within a magnetic field to generate a signal.
- Pros: Durable, handle loud sources well, often more affordable, don’t require phantom power.
- Cons: Less detailed, narrower frequency response compared to condensers.
- Best For: Loud vocals, electric guitar amps, drums (snare, kick), live sound applications, or when you need a mic that can take a beating. They’re built like tanks and deliver a punchy, direct sound.
Ribbon Microphones: The Vintage Warmth
Ribbon mics are the connoisseurs’ choice for a smooth, warm, and vintage sound. They use a thin, corrugated metal ribbon suspended in a magnetic field. Like dynamics, they generate a signal through electromagnetic induction.
- Pros: Exceptionally smooth high frequencies, natural sound, bidirectional (figure-8) polar pattern is great for certain recording techniques.
- Cons: Extremely fragile (especially older models), low output level (often requiring a high-gain preamp), susceptible to damage from phantom power (unless modern active designs).
- Best For: Vocals, guitar amps, brass instruments, strings—anything that benefits from a natural, mellow tone without harshness. As veteran audio engineer Julian Hayes often says, “A good ribbon mic can make a digital recording feel analog.”
Tube (Valve) Microphones: The Richness Enchanters
These are a special subset, usually condensers, that incorporate a vacuum tube in their preamplifier circuit. This tube adds a distinct warmth, harmonic richness, and a subtle compression that many engineers adore.
- Pros: Warm, rich, “larger than life” sound, often with a pleasing sonic character.
- Cons: Generally expensive, require a dedicated power supply, generate heat.
- Best For: Vocals, acoustic instruments, or any source where you want to imbue the sound with a classic, luxurious feel. They provide a certain “mojo” that solid-state mics often can’t replicate.
Professional Recording Techniques: Taming Your Studio Mic
Having the right studio mic is only half the battle. Knowing how to use it is where the real magic happens. Even the most expensive microphone will sound subpar if not positioned correctly or managed properly.
Mic Placement: The Art of Distance and Angle
This is arguably the most critical technique. Small changes in distance or angle can drastically alter the sound.
- Proximity Effect: Moving a directional mic closer to a sound source increases bass response. Use this to add warmth to vocals or guitars, but be wary of muddiness.
- Off-Axis Rejection: Mics pick up sound differently from various angles. Experiment with angles to find the sweet spot that minimizes room reflections or unwanted frequencies and maximizes the desired sound.
- Distance: Generally, closer miking captures more direct sound and less room ambiance. Further miking captures more of the room. Find the balance that suits your recording and genre. For vocals, a good starting point is 6-12 inches (15-30 cm) from the pop filter.
Setting Your Gain Levels: The Sweet Spot
Proper gain staging is fundamental to a clean recording.
- Start Low: Begin with your preamp gain set low.
- Perform: Ask the musician to play or sing the loudest part of their performance.
- Adjust Gradually: Slowly increase the gain until your input meter averages around -10 dBFS to -6 dBFS, with peaks not exceeding -3 dBFS. This leaves plenty of headroom to prevent clipping.
- Avoid Clipping: Digital clipping is unforgiving and sounds terrible. Always aim to record slightly lower and boost later if needed.
The Mighty Pop Filter: Your Shield Against Plosives
A pop filter is an indispensable accessory for vocal recording with any studio mic, especially condensers. It’s a mesh screen placed between the vocalist and the microphone.
- Purpose: It breaks up air blasts from plosive sounds (P’s, B’s, T’s, K’s) before they hit the mic, preventing unpleasant “pops” and “thumps” in your recording.
- Placement: Position it 1-2 inches (2.5-5 cm) in front of the mic.
Managing Room Noise: Quiet is King
The best studio mic in the world can’t fix a noisy room.
- Acoustic Treatment: Use acoustic panels, bass traps, and diffusers to minimize reflections and create a more controlled recording environment. Even blankets and pillows can help in a pinch!
- Eliminate External Noise: Turn off air conditioning, refrigerators, or any other noisy appliances. Record when your environment is quietest.
- Headphones: Ensure vocalists or musicians use headphones to monitor their performance, preventing playback bleed into the microphone.
Sculpting Your Sound: Audio Processing with Studio Mics
Once you’ve captured clean audio with your studio mic, it’s time to refine and enhance it using digital tools. This is where your raw recordings transform into polished productions.
Essential Software and Plugins
Your Digital Audio Workstation (DAW) like Pro Tools, Logic Pro, Ableton Live, or Studio One will be your main hub. Within these, you’ll use various plugins.
- EQ (Equalization): This is your tone sculptor. Use EQ to cut unwanted frequencies (e.g., muddy bass, harsh highs) and boost pleasing ones. For example, a slight boost around 3-5 kHz can add presence to vocals, while cutting around 200-300 Hz can clean up muddiness.
- Compression: This smooths out the dynamics of your audio, making quiet parts louder and loud parts quieter, resulting in a more consistent and “glued” sound. It’s vital for vocals and many instruments.
- Noise Reduction: Plugins like iZotope RX or Waves NS1 can help reduce unwanted background hums, clicks, or room tone without compromising the core performance.
- Reverb and Delay: These add space and depth to your sound, simulating different acoustic environments. Use them sparingly to avoid making your mix sound distant or washed out.
Balancing Volume and Creating Effects
- Gain Staging (Digital): Just as with recording, maintain healthy levels within your DAW. Don’t let tracks clip digitally.
- Panning: Use panning to place instruments and vocals in the stereo field, creating width and separation in your mix.
- Saturation/Distortion: Sometimes, a touch of controlled saturation can add warmth, harmonics, and perceived loudness to a track recorded with your studio mic.
Choosing the Right Studio Mic for Your Needs
With all this knowledge, how do you pinpoint the perfect studio mic for your unique situation? It really boils down to your specific requirements and budget.
Consider Your Sound Source
- Vocals: Condenser mics are often preferred for their detail and clarity. If you want warmth, consider a tube condenser or a ribbon. For aggressive vocals, a dynamic mic can also work wonders.
- Acoustic Guitar: Small-diaphragm condensers are excellent for capturing the intricacies. Larger diaphragm condensers can provide a fuller sound.
- Electric Guitar Amps: Dynamic mics (like the Shure SM57) are classics here for their ability to handle high SPLs and capture the punch. Ribbons can add a smooth, rich character.
- Drums: You’ll likely use a combination: dynamics for kick and snare, condensers for overheads and cymbals, maybe ribbon mics for room sound.
Your Environment Matters
- Treated Studio: If you have a well-treated room, sensitive condenser mics will truly shine, capturing the room’s character without undesirable reflections.
- Untreated Room: In a less-than-ideal acoustic space, a more directional dynamic mic might be a better choice as it picks up less of the room’s unwanted ambiance.
Budget and Long-Term Goals
- Entry-Level: You can find excellent quality large-diaphragm condensers for under $300 that will provide professional results for vocals and acoustic instruments.
- Investing: As you grow, consider investing in a high-end condenser or a quality ribbon mic. These are often lifetime purchases. “Always buy the best microphone you can afford,” advises sound designer Elara Vance. “It’s the one piece of gear that directly interacts with the sound source.”
Caring for Your Studio Mic: Longevity is Key
A studio mic is an investment, and like any valuable piece of equipment, it needs proper care to ensure its longevity and performance.
Cleaning Your Mic
- Pop Filter/Grille: For detachable grilles, gently clean with a soft brush and mild soap. For non-detachable, use a soft, dry brush to remove dust.
- Microphone Body: Wipe with a soft, lint-free cloth. Avoid harsh chemicals.
- Connector Pins: If your XLR pins look tarnished, use a specialized electronic contact cleaner very sparingly.
Proper Storage
- Original Packaging/Case: Store your mic in its original padded case or a dedicated microphone case to protect it from dust, moisture, and physical impact.
- Desiccant Packs: In humid environments, consider placing a small desiccant pack (like silica gel) in the mic case to absorb moisture, which can be detrimental to delicate microphone capsules.
- Stand Storage: Never leave valuable mics permanently mounted on a stand, as this can strain the shock mount over time. Detach and store.
Handling with Care
- Avoid Drops: This seems obvious, but even a small drop can damage the delicate internal components of any studio mic, especially condensers and ribbons.
- Phantom Power First: When using condenser mics, always connect the XLR cable to the mic and then to the preamp before engaging phantom power. Disengage phantom power before unplugging. This prevents harmful power surges.
- Ribbon Mic Caution: Be extra gentle with ribbon mics. Avoid blowing into them directly, and never apply phantom power to vintage passive ribbon mics unless you are absolutely sure it’s an active model designed for it.
FAQ: Your Burning Studio Mic Questions Answered
What is the primary difference between a condenser and a dynamic studio mic?
The primary difference lies in their operating principle and sensitivity. Condensers use a lightweight diaphragm for high sensitivity and detailed sound, often requiring phantom power. Dynamics use a coil and magnet, are less sensitive, more durable, and handle high sound pressure levels well without needing external power.
Do I need phantom power for all studio microphones?
No, only condenser microphones and some active ribbon microphones require phantom power (+48V) to operate. Dynamic microphones are passive and do not need external power.
Can I use a regular live performance microphone for studio recording?
While you can use a live performance microphone (often a dynamic mic) for studio recording, dedicated studio microphones (typically condensers or specialized dynamics) are usually designed for higher fidelity, wider frequency response, and better transient detail, leading to superior recording quality.
How far should I position my studio mic from the sound source?
The ideal distance varies greatly depending on the microphone, the sound source, and the desired sound. A good starting point for vocals is 6-12 inches (15-30 cm) from the pop filter. For instruments, experiment to find the balance between direct sound and room ambiance.
What does “frequency response” mean for a studio mic?
Frequency response refers to the range of frequencies (from low bass to high treble) that a microphone can pick up and reproduce, and how accurately it reproduces them. A wider and flatter frequency response typically indicates a more accurate and versatile microphone.
Why is room treatment important even with a good studio mic?
Room treatment is crucial because even the best studio mic will capture the acoustics of your recording space. Untreated rooms can cause unwanted reflections, reverberation, and standing waves, leading to muddy or unnatural-sounding recordings that even extensive processing cannot fully fix.
What is a “pop filter” and why do I need one for my studio mic?
A pop filter is a mesh screen placed between a vocalist and the microphone, primarily used to prevent “plosive” sounds (like “P” and “B” sounds) from creating harsh air blasts that hit the microphone capsule, causing distracting “pops” or “thumps” in the recording.
Elevate Your Audio Journey with Tmava
Choosing, using, and maintaining your studio mic effectively is a cornerstone of professional audio production. By understanding the different types, mastering fundamental techniques, and committing to proper care, you’re not just buying equipment—you’re investing in the quality of your sound and your creative output. Here at Tmava.com, we believe that great audio starts with great knowledge. We hope this guide empowers you to confidently navigate the world of studio microphones, capture breathtaking recordings, and truly unlock the full potential of your sound. Keep experimenting, keep creating, and remember, the perfect sound is always within reach with the right studio mic in hand. Now go forth and make some amazing recordings!