Hey there, fellow creators! As an audio engineer with over a decade in the trenches of music and broadcast, and as your go-to expert at Tmava.com, I’ve seen countless artists wrestle with getting their ideas from their minds to their DAW. When it comes to Fl Studio Mic Recording, it can feel like a labyrinth, especially if you’re chasing that pristine, studio-quality sound right from your home setup. But trust me, it doesn’t have to be a headache. This guide is designed to demystify the process, from picking the right gear to tweaking your settings and capturing vocals or instruments with confidence. We’re going to dive deep into making your FL Studio mic recording workflow smooth, efficient, and professional.
Essential Gear for Your FL Studio Recording Setup
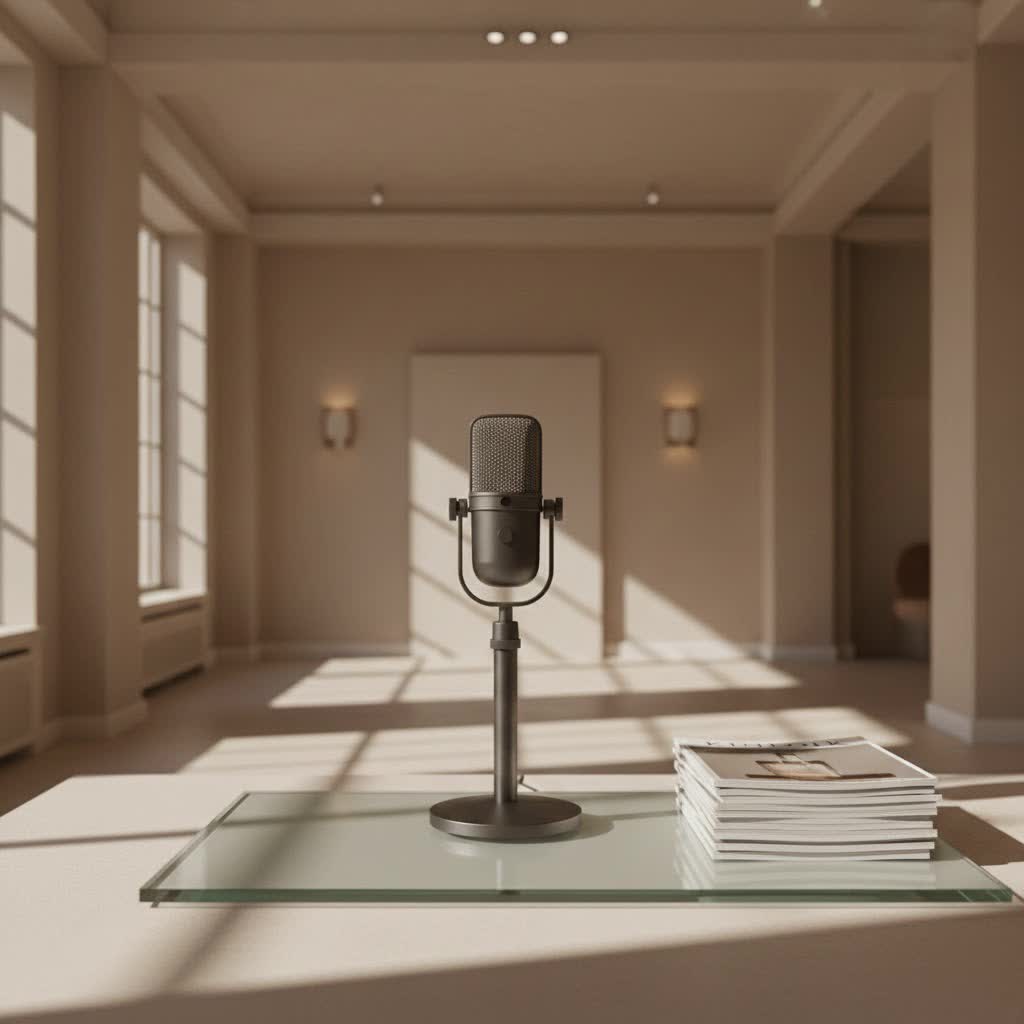
Before we even open FL Studio, let’s talk hardware. The quality of your FL Studio mic recording begins with the tools you choose.
Microphones: Your Voice’s Best Friend
Choosing the right microphone is paramount. Different mics capture sound in unique ways, and understanding their characteristics is key.
- Condenser Microphones: These are the darlings of studio FL Studio mic recording, especially for vocals, acoustic guitars, and detailed sound sources. They are highly sensitive, capturing a wide frequency range and subtle nuances. Most require “phantom power” (+48V) from your audio interface to operate. Think of them as high-resolution cameras for your sound.
- Dynamic Microphones: Robust and less sensitive, dynamic mics are excellent for loud sources like drums, electric guitar amps, or live vocals where background noise rejection is crucial. They don’t require phantom power and are often more affordable. The classic Shure SM58 or SM57 are prime examples.
- Ribbon Microphones: Known for their warm, vintage sound, ribbon mics offer a smooth high-end and are fantastic for certain vocalists or instruments where a rich, natural tone is desired. They are delicate and usually require phantom power, but sometimes with specific preamps.
|
Our Picks for the Best Studio Mic in 2026
As an Amazon Associate I earn from qualifying purchases.
|
||
| Num | Product | Action |
|---|---|---|
| 1 | Condenser Microphone,PC Computer Podcast USB Condenser Microphone Cardioid Metal Mic Kit for Recording, Podcasting, Home Studio, YouTube, Black, BM-800 |

|
| 2 | USB Microphone, MAONO 192KHZ/24Bit Plug & Play PC Computer Podcast Condenser Cardioid Metal Mic Kit with Professional Sound Chipset for Recording, Gaming, Singing, YouTube (AU-A04) |
|
| 3 | AKG Pro Audio P120 - Affordable 2/3-Inch Diaphragm Condenser Microphone for Clear Vocals & Instruments. Studio Recording or Live. XLR Connector. Black |
|
| 4 | RØDE NT1 Signature Series Large-Diaphragm Condenser Microphone with Shock Mount, Pop Filter and XLR Cable for Music Production, Vocal Recording, Streaming and Podcasting (Black) |
|
| 5 | Studio Recording Microphone Isolation Shield with Pop Filter and Metal Tripod Stand, Studio Mic to PC Laptop Smartphone, Music Microphone for Recording Singing Podcasting |
|
| 6 | Upgraded Studio Recording Microphone with Isolation Shield & Pop Filter - Music Condenser Mic for Podcasting, Singing, Home Studio - Sound for PC, Laptop, Smartphone |
|
| 7 | Audio-Technica AT2020 Cardioid Condenser Studio XLR Microphone, Ideal for Project/Home Studio Applications, Black |
|
| 8 | Shure SM7B Vocal Dynamic Microphone – XLR Studio Mic for Podcasting, Recording, Broadcasting, Streaming & Gaming – Smooth, Warm Sound, Rugged Build, Detachable Windscreen, Wide Frequency Range, Black |
|
| 9 | Shure SM4 Studio Recording Microphone Kit, XLR Home Studio Condenser Mic with Mix-Ready Audio - All-Metal Construction, Includes Detachable Magnetic Pop Filter & Shock Mount (SM4-K-KIT) |
|
| 10 | RØDE NT1 5th Generation Large-diaphragm Studio Condenser Microphone with XLR and USB Outputs, Shock Mount and Pop Filter for Music Production, Vocal Recording and Podcasting (Black) |
|
For most FL Studio vocal recording, a good large-diaphragm condenser microphone is your best bet for capturing the detail and clarity your tracks deserve.
Audio Interfaces: The Bridge to Your DAW
Your audio interface is the unsung hero of your FL Studio mic recording setup. It converts the analog signal from your microphone into a digital signal that your computer and FL Studio can understand. It also typically provides phantom power for condenser mics and offers dedicated inputs and outputs.
- Why You Need One: A dedicated audio interface bypasses your computer’s often-inferior built-in sound card, providing higher quality audio conversion, lower latency, and proper mic preamps.
- Drivers are Key: Always install the latest drivers from your interface manufacturer’s website. For Windows users, an ASIO driver is essential for low-latency FL Studio mic recording.
Cables and Accessories: The Finishing Touches
Don’t overlook the smaller pieces of the puzzle:
- XLR Cables: These are standard for connecting studio microphones to your audio interface. Invest in good quality, shielded cables to prevent interference.
- Pop Filter: A must-have for vocal recording. It sits between your mouth and the microphone, diffusing plosive sounds (like “p” and “b”) that can cause unpleasant “pops” in your FL Studio mic recording.
- Microphone Stand: Essential for proper mic positioning and stability.
- Headphones: Closed-back headphones are crucial for monitoring your performance without mic bleed, ensuring you only record what you intend to.
Setting Up Your Mic in FL Studio: A Step-by-Step Walkthrough
Alright, gear’s ready. Let’s get down to the practical steps of setting up your microphone for FL Studio mic recording.
Connecting Your Hardware
- Mic to Interface: Connect your microphone to an input on your audio interface using an XLR cable. If you have a condenser mic, enable phantom power (usually a +48V button on your interface).
- Interface to Computer: Connect your audio interface to your computer via USB, Thunderbolt, or Firewire, depending on your interface model.
Configuring FL Studio Audio Settings
This is a critical step for smooth FL Studio mic recording.
- Open FL Studio and Access Audio Settings: Press
F10on your keyboard to open the System Settings, then navigate to the “Audio” tab. - Select Your ASIO Driver: Under the “Input/Output” section, select your audio interface’s ASIO driver (e.g., “Focusrite USB ASIO,” “Universal Audio Apollo ASIO”). This is vital for minimizing latency during FL Studio mic recording.
- Adjust Sample Rate and Buffer Size:
- Sample Rate: Typically, 44100 Hz or 48000 Hz are standard for music production.
- Buffer Size: This directly impacts latency. A smaller buffer size (e.g., 128 or 256 samples) reduces latency, making recording feel more responsive. However, it demands more CPU power. If you experience crackling or dropouts, increase the buffer size. For mixing, a larger buffer size is fine.
As seasoned audio engineer Clara Chen often advises, “A good starting point for your buffer size is 256 samples. If you’re hearing echoes or delays while recording, try lowering it until the performance is smooth, but your computer can still handle it.”
Mixer Magic: Preparing Your Track
Now, let’s configure FL Studio’s mixer for your FL Studio mic recording.
- Open the Mixer: Press
F9on your keyboard. - Select an Empty Insert Track: Choose an empty mixer track (called an “insert” in FL Studio) that isn’t the Master track. It’s good practice to dedicate a specific track for your vocal or instrument recording.
- Rename the Track (Optional but Recommended): Right-click the track and select “Rename, color, and icon” to label it clearly, for instance, “Vocals” or “Acoustic Guitar.”
- Choose Your Input Source: On the right side of the mixer, in the “Input/Output” section, click the dropdown menu to select the input channel from your audio interface where your microphone is connected. You’ll usually see mono and stereo options. For a single microphone, choose a mono input (e.g., “Input 1 mono”). Choosing stereo for a mono source will only capture sound on one side.
- Arm the Track for Recording: Click the small red circular button at the bottom of the input selection on your chosen mixer track. This “arms” the track, telling FL Studio to listen for input on that channel. It will turn red when armed.
- Set Your Gain Levels: Speak or sing into your microphone at the loudest level you expect to record. Adjust the gain knob on your audio interface (not the fader in FL Studio) until the level meters in FL Studio’s mixer are consistently in the green, peaking around -10dB to -6dB. This provides “headroom” to prevent clipping (digital distortion) during your FL Studio mic recording.
The Art of Recording: Tips for Capturing Pristine Audio
With your setup dialed in, let’s focus on the actual FL Studio mic recording process and techniques.
Optimal Mic Placement
The distance and angle of your microphone can dramatically affect your sound.
- Vocal Sweet Spot: For most vocals, start with the microphone 6-12 inches from the singer, slightly off-axis (not pointing directly at the mouth) to minimize plosives. Experiment with distance – closer often means a fuller sound (proximity effect), further offers more room ambiance.
- Instrument Recording: For acoustic guitars, try pointing the mic towards where the neck meets the body, about 6-12 inches away. For guitar amps, experiment with placing the mic directly on the cone or slightly off-axis for different tonal characteristics.
Monitoring Like a Pro
Using closed-back headphones during FL Studio mic recording is non-negotiable.
- Why Headphones? They prevent your monitoring sound from bleeding into the microphone, which would ruin your take.
- Direct Monitoring: Many audio interfaces offer “direct monitoring,” which routes your microphone signal directly to your headphones before it goes through your computer and FL Studio. This completely eliminates latency in your monitoring, making your performance feel natural.
Managing Room Acoustics
While professional studio treatment is ideal, even in a home setting, you can improve your FL Studio mic recording environment.
- Minimize Reflections: Record in a room with soft furnishings (couches, curtains, rugs) to absorb sound and reduce echo. Avoid highly reflective surfaces like bare walls.
- Corner Bass Traps (DIY): Even blankets or duvets strategically placed in corners can help reduce unwanted bass buildup.
Dealing with Latency
Latency, the delay between your input and hearing it back, is a common frustration in FL Studio mic recording.
- Buffer Size: As mentioned, a smaller buffer size in your FL Studio audio settings is the primary way to reduce software-induced latency.
- Direct Monitoring: Utilize your audio interface’s direct monitoring feature for real-time, zero-latency monitoring. This allows you to hear yourself without any delay, even if FL Studio has some internal processing latency.
Post-Recording Polish: Enhancing Your FL Studio Vocals
Once your raw audio is captured, the real fun of shaping your sound begins.
Basic Editing
- Trimming and Cropping: Remove any silence or unwanted noises from the beginning and end of your recorded clips in the FL Studio Playlist.
- Noise Reduction: If you have some persistent background hum or hiss, plugins can help. Tools like CrumplePop’s AudioDenoise or WindRemover (if you recorded outdoors) can intelligently clean up your tracks without sacrificing audio quality. These AI-powered solutions make quick work of common recording imperfections, leaving you with a cleaner foundation for your mix.
Mixing Essentials
This is where your FL Studio mic recording truly comes to life.
- Equalization (EQ): Use an EQ plugin (like FL Studio’s Fruity Parametric EQ 2) to shape the tone. Cut unwanted low-end rumble, reduce harsh frequencies, and boost areas that add clarity or warmth.
- Compression: A compressor (e.g., Fruity Limiter in compressor mode) helps to control dynamics, making loud parts quieter and quiet parts louder, resulting in a more consistent and present sound.
- Reverb and Delay: These time-based effects add space and depth. Use them subtly to make your vocals sit naturally in the mix.
Troubleshooting Common FL Studio Recording Issues
Even with the best setup, you might run into bumps. Here are quick fixes for common FL Studio mic recording problems:
“No Sound/Signal”
- Check Connections: Are all cables securely plugged in?
- Phantom Power: Is +48V engaged for your condenser mic?
- Audio Settings: Is your audio interface selected as the input device in FL Studio’s Audio Settings?
- Mixer Input: Is the correct input channel selected on your mixer track, and is the track armed for recording?
- Interface Gain: Is the gain knob on your audio interface turned up?
“High Latency”
- Buffer Size: Reduce the buffer size in FL Studio’s Audio Settings.
- Direct Monitoring: Enable direct monitoring on your audio interface.
- Close Other Programs: Ensure no other demanding applications are running.
“Clipping/Distortion”
- Gain Staging: Reduce the input gain on your audio interface. Your levels should be peaking below 0dB, ideally around -10dB to -6dB.
- Mic Placement: Move the microphone further away from the sound source if it’s too loud.
Frequently Asked Questions (FAQ)
What type of microphone is best for FL Studio vocal recording?
For most FL Studio vocal recording, a large-diaphragm condenser microphone is highly recommended. These mics capture a wide frequency range and subtle details, perfect for a clear and professional vocal sound. They often require phantom power.
Do I need an audio interface for FL Studio mic recording?
Yes, an audio interface is essential for high-quality FL Studio mic recording. It provides better preamps, superior analog-to-digital conversion, and significantly reduces latency compared to your computer’s built-in sound card, leading to a much smoother recording experience.
How do I reduce latency when recording in FL Studio?
To reduce latency in FL Studio mic recording, ensure you’re using an ASIO driver for your audio interface in FL Studio’s Audio Settings and set a lower buffer size (e.g., 128 or 256 samples). Additionally, many audio interfaces offer direct monitoring, which eliminates latency in your headphone mix.
Can I record instruments with my mic in FL Studio?
Absolutely! The same principles for FL Studio mic recording apply to instruments. Depending on the instrument, you might use a condenser mic for acoustic guitars or a dynamic mic for loud guitar amps. Ensure proper mic placement and gain staging for the best results.
What is phantom power and do I need it?
Phantom power (+48V) is a direct current electricity that powers certain types of microphones, primarily condenser microphones. If you’re using a condenser mic for your FL Studio mic recording, you will need to enable phantom power, usually via a button on your audio interface or a dedicated phantom power supply.
Unleash Your Sound with FL Studio
Mastering FL Studio mic recording is an incredibly rewarding journey that empowers you to bring your creative visions to life with professional clarity. From carefully selecting your microphone and audio interface to meticulously configuring FL Studio’s settings and applying smart recording techniques, every step contributes to the final polished product. Don’t be afraid to experiment, tweak, and learn from every session. The more you record, the more intuitive the process becomes. Now, go forth, arm that track, and capture your next masterpiece!