Hey there, aspiring musicians, podcasters, and content creators! Ever dream of capturing that pristine, professional sound for your projects but feel like your wallet is telling a different story? You’re not alone. For years, “studio mic” and “affordable” felt like two words that simply didn’t belong in the same sentence. But guess what? The game has changed! Today, finding a fantastic Cheap Studio Mic that delivers incredible results is not just a pipe dream; it’s a reality.
At Tmava, we believe that incredible sound shouldn’t be exclusive to those with limitless budgets. With the right knowledge, smart choices, and a few pro tips, you can transform your home setup into a legitimate recording haven without breaking the bank. This guide is your roadmap to navigating the world of budget microphones, helping you understand what makes them tick, how to choose the perfect one for your needs, and most importantly, how to make it sound absolutely phenomenal. Let’s dive in and elevate your audio game!
What’s the Deal with Cheap Studio Mics? Understanding the Basics
So, what exactly do we mean by a “cheap” studio mic? Generally, we’re talking about microphones ranging from under $100 to around $250. This sweet spot offers incredible value, often punching far above their weight in performance. The key isn’t just the price tag, but the value you get for that money.
Common Studio Mic Types and Their Budget Heroes
|
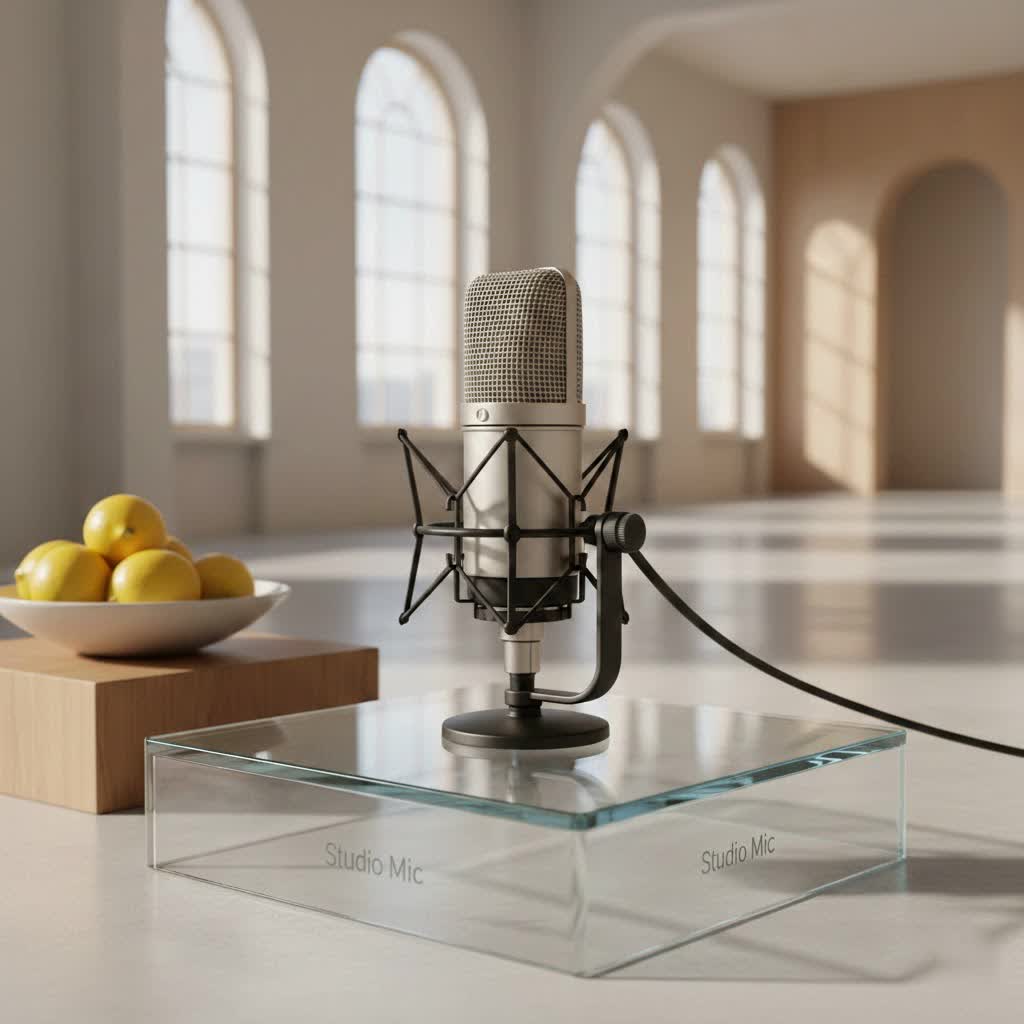
Our Picks for the Best Studio Mic in 2026
As an Amazon Associate I earn from qualifying purchases.
|
||
| Num | Product | Action |
|---|---|---|
| 1 | RØDE NT1 5th Generation Large-diaphragm Studio Condenser Microphone with XLR and USB Outputs, Shock Mount and Pop Filter for Music Production, Vocal Recording and Podcasting (Black) |

|
| 2 | Condenser Microphone,PC Computer Podcast USB Condenser Microphone Cardioid Metal Mic Kit for Recording, Podcasting, Home Studio, YouTube, Black, BM-800 |
|
| 3 | RØDE NT1 Signature Series Large-Diaphragm Condenser Microphone with Shock Mount, Pop Filter and XLR Cable for Music Production, Vocal Recording, Streaming and Podcasting (Black) |
|
| 4 | USB Microphone, MAONO 192KHZ/24Bit Plug & Play PC Computer Podcast Condenser Cardioid Metal Mic Kit with Professional Sound Chipset for Recording, Gaming, Singing, YouTube (AU-A04) |
|
| 5 | Studio Recording Microphone Isolation Shield with Pop Filter and Metal Tripod Stand, Studio Mic to PC Laptop Smartphone, Music Microphone for Recording Singing Podcasting |
|
| 6 | Upgraded Studio Recording Microphone with Isolation Shield & Pop Filter - Music Condenser Mic for Podcasting, Singing, Home Studio - Sound for PC, Laptop, Smartphone |
|
| 7 | Audio-Technica AT2020 Cardioid Condenser Studio XLR Microphone, Ideal for Project/Home Studio Applications, Black |
|
| 8 | Shure SM7B Vocal Dynamic Microphone – XLR Studio Mic for Podcasting, Recording, Broadcasting, Streaming & Gaming – Smooth, Warm Sound, Rugged Build, Detachable Windscreen, Wide Frequency Range, Black |
|
| 9 | AKG Pro Audio P120 - Affordable 2/3-Inch Diaphragm Condenser Microphone for Clear Vocals & Instruments. Studio Recording or Live. XLR Connector. Black |
|
| 10 | Shure SM4 Studio Recording Microphone Kit, XLR Home Studio Condenser Mic with Mix-Ready Audio - All-Metal Construction, Includes Detachable Magnetic Pop Filter & Shock Mount (SM4-K-KIT) |
|
When you start looking for a cheap studio mic, you’ll primarily encounter a few main types, each with its own superpowers.
What are the main types of microphones I should consider on a budget?
The most common types are condenser and dynamic microphones, with USB mics being a popular sub-category for beginners. Each has distinct advantages depending on your recording needs.
- Condenser Microphones: These are the sensitive artists of the mic world, perfect for capturing intricate details. They require phantom power (48V) from an audio interface, but they reward you with a wide frequency response and exceptional clarity, making them a go-to for vocals, acoustic guitars, and any source where nuance is key. On a budget, models like the Audio-Technica AT2020 and the AKG P120 are legendary for their performance-to-price ratio. The MXL 770 and 990 also offer smooth, warm tones that can flatter most voices. Many engineers find the AT2020 to be a true all-rounder for little money, excelling on vocals, guitars, and even drums.
- Dynamic Microphones: Think of these as the workhorses—durable, reliable, and excellent at handling loud sound sources without distortion. They don’t typically require phantom power, making them simpler to set up. For instruments like guitar amps and snare drums, or powerful vocals, a dynamic mic is often the best choice. The Shure SM57 and SM58 are industry legends, virtually indestructible and incredibly versatile, often available for around $100. The SM58, in particular, is optimized for vocals with a built-in pop filter, making it a favorite for both live and studio use.
- USB Microphones: For those just starting out or needing a super simple setup, USB microphones are a fantastic entry point. They plug directly into your computer, bypassing the need for an audio interface. Many even include multiple polar patterns, offering great versatility. The Samson Q2U and Blue Yeti are popular choices, providing excellent sound quality with plug-and-play convenience. The Samson Q2U even offers both USB and XLR outputs, allowing it to grow with your studio.
- XLR Microphones: These are the professional standard, offering greater flexibility and generally better sound quality than their USB counterparts. They connect to an audio interface, which provides phantom power (if needed), high-quality preamps, and converts the analog signal to digital for your computer. If you’re serious about expanding your capabilities, an XLR setup, even with a cheap studio mic, offers the best path for growth.
Picking Your Perfect Partner: How to Choose a Cheap Studio Mic for Your Needs
Choosing the right microphone isn’t just about price; it’s about matching the tool to the task. What sounds great on a guitar amp might not be ideal for a delicate vocal performance.
How do I choose a cheap studio mic that’s right for my specific recording needs?
Consider what you’ll be recording most often, as different mic types excel in various applications. Your recording environment also plays a crucial role.
What are you recording? (Vocals, Instruments, Podcasts)
- For Vocals: Most engineers prefer large-diaphragm condenser microphones for vocals due to their ability to capture detail and nuances. The Rode NT1 Signature Series is often lauded as an excellent, albeit slightly higher-priced, option for vocals, known for its low self-noise and neutral yet detailed sound. For powerful singers, a dynamic mic like the Shure SM58 can also be a fantastic, durable choice, offering excellent feedback rejection.
- For Instruments:
- Electric Guitar Amps & Drums: Dynamic mics like the Shure SM57 are legendary for these loud sources, handling high sound pressure levels with ease.
- Acoustic Instruments: Condenser mics, especially small-diaphragm ones like a matched pair of Behringer C-2s, are great for capturing the bright, detailed sound of acoustic guitars or drum overheads.
- For Podcasting/Streaming: USB microphones like the Shure MV7 (which also has XLR connectivity) or the Blue Yeti are incredibly convenient due to their plug-and-play nature and often come with software that simplifies recording. The MV7, for example, features dual USB/XLR connectivity and an app with useful presets and auto-leveling.
Room Acoustics Matter, Even with a Cheap Mic
Here’s a truth bomb: even a $1000 microphone will sound terrible in a poorly treated room. Before you sink all your budget into gear, spare some thought for your recording environment.
Why is my room’s acoustics so important when using a cheap studio mic?
Hard surfaces create reflections and echoes that can muddy your recordings, making even a good budget mic sound amateur. Basic room treatment can dramatically improve your sound.
- Basic Room Treatment: You don’t need a professional studio to start. Hanging thick blankets, using couch cushions, or recording in a closet full of clothes can significantly “deaden” your room and reduce unwanted reflections.
- Understanding Polar Patterns: Most cheap studio mics will have a cardioid pickup pattern, meaning they pick up sound primarily from the front and reject it from the sides and rear. This is your secret weapon for minimizing room noise. Point the back (the “null”) of your microphone towards any unwanted sound sources like a computer fan or a window.
Making Your Cheap Studio Mic Sound Like a Million Bucks: Professional Recording Techniques
Having a great cheap studio mic is only half the battle. Knowing how to use it effectively is what truly elevates your sound. It’s about technique, not just gear.
Mic Placement is King
The distance and angle of your microphone relative to the sound source can make a world of difference.
What’s the best way to position my cheap studio mic for vocals?
For most cardioid condenser mics, a distance of 6 to 12 inches is a good starting point to balance clarity and minimize room noise, along with using a pop filter.
- Distance Matters: For cardioid condenser mics, a distance of 6 to 12 inches from the source is often recommended for vocals, depending on loudness and desired sound. For dynamic mics, you generally want to get closer.
- Correct Side and Angle: Always record into the correct side of the microphone—for most condensers, it’s typically the side, not the top. Angling the mic slightly can also help reduce plosives.
- Using a Pop Filter: This is a non-negotiable accessory. A pop filter prevents harsh “P” and “B” sounds (plosives) and protects your mic’s capsule from moisture and spit, ensuring a cleaner recording and preserving your mic.
Gain Staging and Noise Reduction
These are crucial steps to ensure your recordings are clean and free from unwanted noise.
How do I set the correct gain level for my cheap studio mic?
Aim for average peaks around -18dB in your digital audio workstation (DAW), with the loudest parts not exceeding -10dB. This provides headroom and captures high-quality audio without clipping.
- Set Gain Correctly: Too loud, and you’ll get digital clipping, which sounds awful. Too quiet, and you risk losing audio resolution or introducing more self-noise when you boost the signal later. Aim for an average of -18dB, with loudest peaks around -10dB.
- Eliminate Room Noise at the Source: Turn off anything noisy in your room—fans, air conditioners, refrigerators, even your phone. Even subtle sounds get picked up by sensitive condenser mics. Point the rejection side of your cardioid mic towards any unavoidable noise sources.
- Use a Mic Stand: Keep your microphone off your desk to avoid picking up vibrations and bumps. A good mic stand or boom arm with a shock mount is essential.
Leveraging Your DAW and Plugins
Once your audio is recorded, your digital audio workstation (DAW) and its plugins become powerful tools for refining your sound.
Can I make a cheap studio mic sound professional with plugins?
Absolutely! EQ, compression, de-noising, and reverb plugins can significantly enhance recordings from budget microphones, compensating for any inherent limitations.
- EQ and Compression: Use EQ to carve out problem frequencies (e.g., a high-pass filter to remove low-end rumble) and boost desirable ones to add body or sparkle. Compression helps balance dynamics, making your vocal performance more consistent. Multi-stage compression can be very effective.
- De-Noising and De-Essing: If you still have some background noise, a de-noising plugin can help clean it up. De-essers are great for taming harsh sibilance (“S” sounds) that some mics might accentuate.
- Creative Effects: Don’t be afraid to experiment with reverb, delay, and other effects to add character and depth to your sound.
Nurturing Your Gear: Maintenance and Care for Your Cheap Studio Mic
Even an affordable microphone deserves some love and care to ensure it performs optimally and lasts for years.
Why is proper maintenance crucial for my studio mic, regardless of its cost?
Proper care protects sensitive components from dust, moisture, and physical damage, preserving sound quality and extending the microphone’s lifespan.
Daily Habits for Longevity
- Keep it Clean and Dry: Regularly wipe down the exterior of your mic with a soft, dry microfiber cloth. For condenser mics, be careful around the capsule. Avoid moisture, and if it gets wet, let it dry thoroughly before use.
- Store Properly: When not in use, always put a plastic bag over your mic to prevent dust from settling on the capsule. Store it in its protective case, away from extreme temperatures and humidity.
- Always Use a Pop Filter: This isn’t just for plosives; it also acts as a barrier against moisture and spit, which can damage the sensitive diaphragm of condenser mics over time.
Cable Care
Your cables are the lifelines of your audio setup.
- Handle with Care: Avoid pulling or twisting cables, as this can cause internal damage. Coil them properly when you’re done and check for any signs of wear and tear.
It’s often said that a chain is only as strong as its weakest link. This applies to your microphone setup too. Investing in good cables and a reliable audio interface, even with a cheap studio mic, ensures your signal chain is robust.
Expert Voices on Budget Microphones
It’s easy to get caught up in the idea that only expensive gear can produce top-tier results. But I’ve learned from countless hours in the studio that it’s simply not true. As Sarah Chen, a veteran sound engineer and a mentor of mine, once wisely put it, “It’s not about the price tag, it’s about the hands that wield the mic and the ears that mix it. A great performance through a cheap mic beats a mediocre one through a pricey one, any day. Master your craft, and your gear will follow.”
Conclusion: Your Journey to Pro-Quality Audio Starts Here
So, there you have it! The world of the cheap studio mic is vast and full of potential. You now know that achieving professional-sounding recordings doesn’t require a Hollywood budget. By understanding the different types of microphones, making informed choices based on your recording needs, applying smart recording techniques, and taking good care of your gear, you can unlock incredible audio quality.
Don’t let budget constraints hold you back from creating amazing content. Start with a reliable cheap studio mic, learn its quirks, experiment with placement and processing, and watch your recordings transform. Your journey to producing professional-grade audio begins now. Pick up that affordable mic, hit record, and let your creativity shine! Remember, Tmava is always here to guide you on your quest for perfect sound.