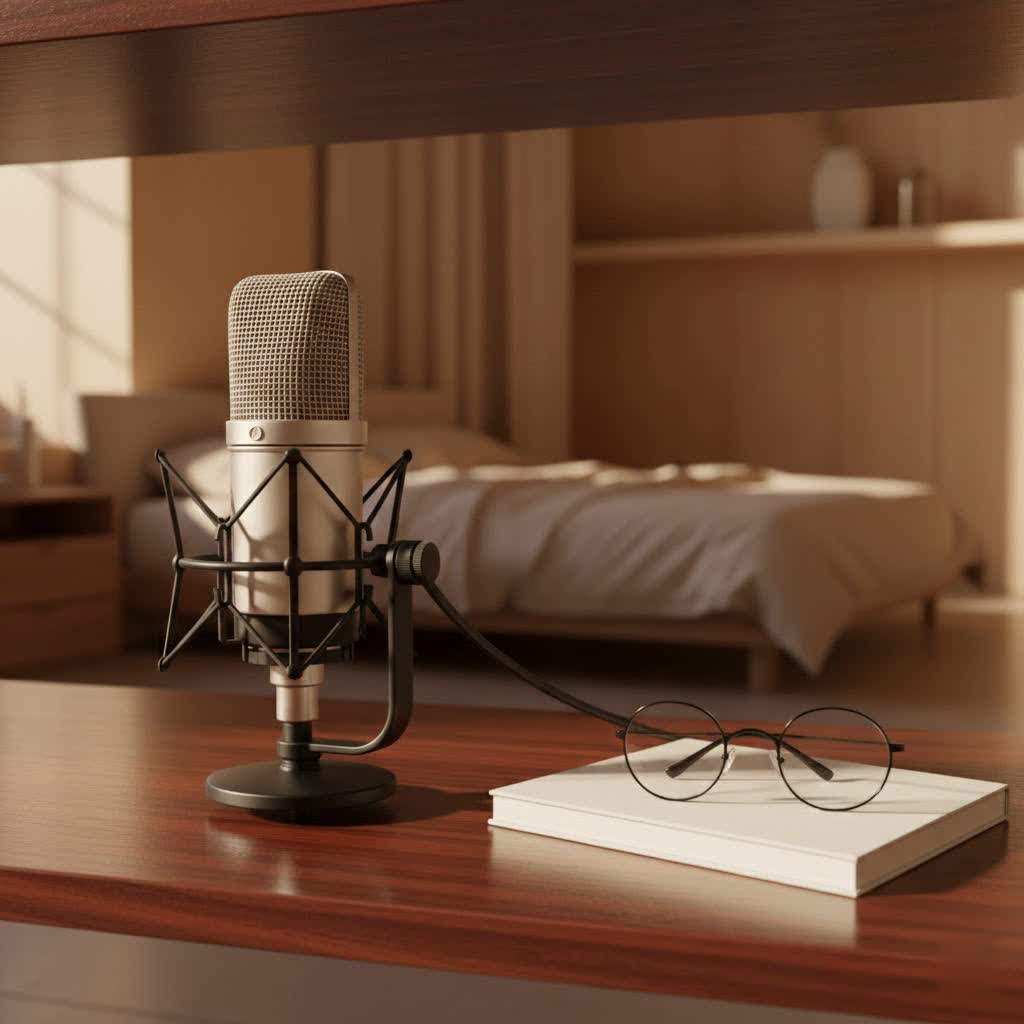
Stepping into the world of home recording is an exciting journey, isn’t it? Whether you’re a budding vocalist, an aspiring podcaster, or a musician laying down tracks, your microphone is the cornerstone of your sound. And when it comes to capturing that nuanced, professional-grade audio, a condenser microphone is often the star of the show. Choosing the Best Condenser Mic For Home Studio use can feel like navigating a maze of technical jargon and endless options. But don’t sweat it – with over a decade in the audio trenches, I’m here to demystify the process and help you find that perfect mic that elevates your sound without breaking the bank. At Tmava.com, we’re all about empowering you with the knowledge to make informed decisions, transforming your creative space into a high-quality recording haven.
Understanding Condenser Microphones: Why They Shine for Home Studios
Condenser microphones are renowned for their sensitivity and ability to capture intricate details across a wide frequency range. This makes them ideal for studio environments, where clarity and fidelity are paramount. Unlike dynamic mics, which are robust and great for live performance or loud sources, condensers excel at capturing the subtle nuances of vocals, acoustic instruments, and even delicate ambient sounds.
What’s the magic behind them? Condensers work by using a lightweight diaphragm that vibrates when hit by sound waves, changing the capacitance between it and a fixed backplate. This produces an electrical signal that’s then amplified by an internal preamp. Because this diaphragm is so light, it responds quickly to sound, offering superior transient response and a detailed, “airy” sound.
Large Diaphragm vs. Small Diaphragm: What’s the Difference?
When you’re looking for the best condenser mic for home studio recording, you’ll often encounter discussions about diaphragm size. So, what’s the lowdown?
- Large Diaphragm Condensers (LDCs): These mics typically have diaphragms one inch or larger in diameter. They are celebrated for their warm, rich, and “bigger than life” sound, often adding a pleasing coloration to recordings. LDCs are usually side-address, meaning you speak or play into the side of the microphone. They boast lower self-noise and higher sensitivity, making them excellent for vocals, spoken word, and capturing the warmth of instruments like acoustic guitars or piano. Many home studio enthusiasts find an LDC to be their go-to for its versatility.
- Small Diaphragm Condensers (SDCs): With diaphragms generally around half an inch or less, SDCs are often pencil-shaped and end-address. They are prized for their accurate, uncolored, and natural sound, excelling at capturing transients and high-frequency details with precision. Think acoustic guitars, cymbals, strings, or as stereo pairs for capturing a wide soundstage. While they might not have the “warmth” of an LDC, their precision is unmatched for specific tasks.
|
Our Picks for the Best Studio Mic in 2026
As an Amazon Associate I earn from qualifying purchases.
|
||
| Num | Product | Action |
|---|---|---|
| 1 | Studio Recording Microphone Isolation Shield with Pop Filter and Metal Tripod Stand, Studio Mic to PC Laptop Smartphone, Music Microphone for Recording Singing Podcasting |

|
| 2 | RØDE NT1 Signature Series Large-Diaphragm Condenser Microphone with Shock Mount, Pop Filter and XLR Cable for Music Production, Vocal Recording, Streaming and Podcasting (Black) |
|
| 3 | Audio-Technica AT2020 Cardioid Condenser Studio XLR Microphone, Ideal for Project/Home Studio Applications, Black |
|
| 4 | Upgraded Studio Recording Microphone with Isolation Shield & Pop Filter - Music Condenser Mic for Podcasting, Singing, Home Studio - Sound for PC, Laptop, Smartphone |
|
| 5 | Shure SM4 Studio Recording Microphone Kit, XLR Home Studio Condenser Mic with Mix-Ready Audio - All-Metal Construction, Includes Detachable Magnetic Pop Filter & Shock Mount (SM4-K-KIT) |
|
| 6 | Condenser Microphone,PC Computer Podcast USB Condenser Microphone Cardioid Metal Mic Kit for Recording, Podcasting, Home Studio, YouTube, Black, BM-800 |
|
| 7 | Shure SM7B Vocal Dynamic Microphone – XLR Studio Mic for Podcasting, Recording, Broadcasting, Streaming & Gaming – Smooth, Warm Sound, Rugged Build, Detachable Windscreen, Wide Frequency Range, Black |
|
| 8 | USB Microphone, MAONO 192KHZ/24Bit Plug & Play PC Computer Podcast Condenser Cardioid Metal Mic Kit with Professional Sound Chipset for Recording, Gaming, Singing, YouTube (AU-A04) |
|
| 9 | RØDE NT1 5th Generation Large-diaphragm Studio Condenser Microphone with XLR and USB Outputs, Shock Mount and Pop Filter for Music Production, Vocal Recording and Podcasting (Black) |
|
| 10 | AKG Pro Audio P120 - Affordable 2/3-Inch Diaphragm Condenser Microphone for Clear Vocals & Instruments. Studio Recording or Live. XLR Connector. Black |
|
For most home studio setups, especially if you’re primarily recording vocals or a variety of instruments, a large-diaphragm condenser is usually the best starting point due to its versatility and flattering sonic character.
Top Picks: Best Condenser Mics for Your Home Studio
Now, let’s talk about some specific models that consistently earn high marks in the home studio community. Keep in mind, the “best” mic is always the one that best suits your needs and budget.
Entry-Level & Mid-Range XLR Condensers
These mics offer incredible value and professional results, requiring an audio interface with phantom power.
- Audio-Technica AT2020: This mic is practically a rite of passage for home studio owners. It delivers remarkable clarity and detail well above its modest price point. Its balanced frequency response handles everything from vocals to acoustic guitars with professional-grade results, making it the perfect first serious microphone. It’s a cardioid condenser, excellent for isolating your sound source.
- Rode NT1 Signature Series: If you’re looking for a step up in quality without a huge leap in price, the Rode NT1 Signature Series is a fantastic choice. Known for its exceptionally low self-noise (one of the quietest in its class at 4dBA) and pristine, transparent sound, it’s a brilliant condenser for beginners and seasoned pros alike. It often comes bundled with a shock mount and pop filter, adding significant value.
- AKG P220: AKG brings its professional pedigree to the entry-level market with the P220. This large-diaphragm condenser offers features typically found in more expensive microphones, including a switchable 20dB pad and high-pass filter, expanding its versatility. It provides a warm, present character that works well on vocals, guitars, and percussion.
- Lewitt LCT 440 Pure: A favorite among YouTubers and home recording enthusiasts, the LCT 440 Pure offers exceptional performance and robust build quality. It’s a simple, high-quality mic that punches above its price point, delivering clear, detailed recordings for vocals and instruments.
USB Condensers: Simplicity Meets Quality
For those prioritizing convenience and a streamlined setup, USB condenser microphones are a game-changer. They connect directly to your computer, bypassing the need for an external audio interface, as they have one built-in.
- Rode NT-USB+: This mic delivers pristine, studio-grade audio with the simplicity of a USB connection. It features an onboard analog-to-digital converter, providing excellent sound quality directly to your computer, tablet, or smartphone. It’s highly portable and perfect for podcasting, streaming, or basic music recordings.
While USB mics have come a long way, dedicated XLR setups generally offer more flexibility and higher fidelity components for serious audio enthusiasts. However, for many applications, a good USB condenser can absolutely deliver professional-sounding results.
Key Factors to Consider When Choosing Your Studio Mic
Finding the best condenser mic for home studio means evaluating several key aspects against your specific needs.
What’s Your Budget?
Microphone prices range from under $100 to several thousands. Define your budget early. For beginners, excellent options exist in the $100-$300 range, often including essential accessories. Investing more usually gets you better components, lower self-noise, and a more refined sound.
What Are You Recording?
- Vocals (Singing/Voiceover/Podcasting): Large-diaphragm condensers are generally preferred for their ability to capture warmth and detail in the human voice.
- Acoustic Instruments (Guitar, Piano): LDCs can work for a warm sound, while SDCs excel at capturing bright transients and natural detail. Having both, or a versatile LDC, is a good strategy.
- Multi-purpose: If you need one mic for everything, a versatile large-diaphragm cardioid condenser is usually the safest bet.
Understanding Polar Patterns
A microphone’s polar pattern describes how it picks up sound from different directions. For a home studio, cardioid is king.
- Cardioid: This pattern picks up sound primarily from the front, rejecting most sound from the sides and rear. It’s perfect for isolating a single vocalist or instrument in a less-than-perfect acoustic environment, minimizing room reflections and background noise.
- Omnidirectional: Captures sound equally from all directions. Great for capturing room ambience, group vocals, or when you want a natural, open sound. Less ideal for untreated home studios due to its sensitivity to room reflections.
- Bidirectional (Figure-8): Picks up sound from the front and back, rejecting from the sides. Useful for duets, interviews, or advanced stereo miking techniques.
For most home studio users, a mic with a cardioid pattern will be the most practical and effective choice. Some high-end condensers offer switchable patterns, providing more versatility.
Connectivity: USB vs. XLR
- USB: Plug-and-play simplicity. Ideal for beginners, portability, and quick setups. Limited upgradability and often not suitable for multi-mic setups without specialized software.
- XLR: Professional standard. Requires an audio interface (with phantom power) and XLR cables. Offers superior sound quality potential, more control over preamps and converters, and a scalable system that can grow with your needs.
“For anyone serious about long-term audio quality and system flexibility in their home studio, starting with an XLR condenser and a good audio interface is almost always the smarter move,” advises Marcus Thorne, Head Audio Engineer at Tmava Studios.
Self-Noise and Maximum SPL
- Self-Noise (Equivalent Noise Level): This refers to the inherent electronic noise a microphone produces. Lower dBA values mean a quieter mic, which is crucial for capturing soft vocals or delicate instruments without unwanted hiss. For a home studio, aim for mics with low self-noise (e.g., under 15 dBA).
- Maximum SPL (Sound Pressure Level): This indicates how loud a sound source a mic can handle before distorting. If you’re recording loud instruments like guitar amps or drums, a higher max SPL is essential. Most condensers for vocals will have sufficient SPL handling.
Room Acoustics
No matter how great your microphone, your recording space profoundly impacts your sound. Condenser mics are sensitive, meaning they’ll pick up everything—including echoes, reflections, and ambient noise from your room. Consider basic acoustic treatment (foam panels, thick blankets, heavy curtains) to reduce flutter echo and reflections, even in a home studio.
Setting Up Your Condenser Mic for Optimal Sound
You’ve chosen the best condenser mic for home studio use – fantastic! Now, let’s make sure you’re getting the best out of it.
- Placement is Key:
- Vocals: For a natural sound, start by positioning the mic about 6-12 inches (15-30 cm) from the singer, slightly off-axis (not directly into the mic). This helps prevent plosives (harsh “p” and “b” sounds) and reduces sibilance (harsh “s” sounds). Experiment with distance and angle to find the sweet spot for the vocalist’s voice.
- Acoustic Guitar: A common starting point is aiming the mic towards the 12th fret, about 6-12 inches away. You can also try pointing it towards the soundhole for more bass, or closer to the bridge for more brightness.
- Use a Pop Filter: This essential accessory goes between the vocalist and the mic, preventing plosives from hitting the capsule and causing unpleasant thumps in your recording. It’s a must-have for vocal work.
- Invest in a Shock Mount: Condenser mics are sensitive, and they can easily pick up vibrations transferred through the mic stand (e.g., foot taps, desk bumps). A shock mount isolates the mic from these vibrations, ensuring cleaner recordings. Many good home studio condenser mics come with one.
- Proper Gain Staging: This is crucial. Adjust the gain (input level) on your audio interface or USB mic so that your loudest signals peak around -6dB to -10dB on your recording software. This leaves enough “headroom” to prevent clipping (digital distortion) without being too quiet and introducing noise when you boost it later.
- Minimize Room Noise: Close windows, turn off noisy fans or appliances. Even subtle background hums can be magnified by a sensitive condenser mic.
Maintaining Your Condenser Mic: Keep It Pristine
Your condenser mic is an investment, and proper care will ensure it lasts for years, delivering consistent, high-quality recordings.
- Always Use a Dust Cover: When not in use, cover your mic with a soft cloth bag or its original dust cover. Dust can accumulate on the diaphragm, affecting performance and sound quality over time.
- Store in a Dry Environment: Humidity is the enemy of condenser microphones. Store them in their protective case with a desiccant packet (silica gel) if you live in a humid climate. Excessive moisture can damage the delicate electronics and capsule.
- Handle with Care: Never drop your mic. The diaphragms are incredibly delicate and can be permanently damaged by impact.
- Avoid Blowing into the Mic: Blowing into a condenser mic can introduce moisture and stress the diaphragm. Always use a pop filter or test with spoken words.
- Clean Gently: Use a soft, dry brush to gently remove any dust from the mic’s grille. Never use liquids or cleaning sprays directly on the microphone.
Frequently Asked Questions about Condenser Mics for Home Studios
Q1: Do I really need an audio interface for a condenser mic?
A: If you’re using an XLR condenser mic, absolutely yes. An audio interface provides the necessary phantom power, converts the analog signal to digital, and connects the mic to your computer. USB condenser mics have a built-in interface, so they don’t require an external one.
Q2: Can I use a condenser mic in an untreated room?
A: You can, but it’s not ideal. Condenser mics are very sensitive and will pick up room reflections and ambient noise. For the best condenser mic for home studio performance, some level of acoustic treatment (even DIY solutions like blankets or foam) is highly recommended to improve sound quality and reduce unwanted room artifacts.
Q3: What’s phantom power, and why do condenser mics need it?
A: Phantom power is a 48-volt DC power supply sent through an XLR cable from an audio interface or mixer. Condenser microphones require this power to charge their diaphragm and operate their internal preamplifier. Without it, most XLR condenser mics won’t work.
Q4: Is a more expensive condenser mic always better for a home studio?
A: Not necessarily. While higher-priced mics often offer superior components, lower self-noise, and a more refined sound, there’s a point of diminishing returns for a home studio. An excellently chosen mid-range mic in a well-treated room, used with good technique, will often outperform an expensive mic in a poor acoustic environment.
Q5: Can I use a condenser mic for live performances?
A: While some condensers are designed for live use, most studio condenser mics are too delicate and sensitive for the rigors of a live stage. They are prone to feedback and physical damage in a live setting. Dynamic microphones are generally the preferred choice for live performances due to their durability and lower feedback susceptibility.
Conclusion
Choosing the best condenser mic for home studio recording doesn’t have to be overwhelming. By understanding the core differences between mic types, considering your specific needs, and knowing what features matter most, you can confidently select a microphone that will elevate your recordings. Remember, a great mic is just one piece of the puzzle; proper setup, good technique, and even basic acoustic treatment are equally vital for achieving that polished, professional sound. At Tmava.com, we believe that with the right knowledge and gear, your home studio can produce truly remarkable audio. So go forth, experiment, and make some incredible sound!