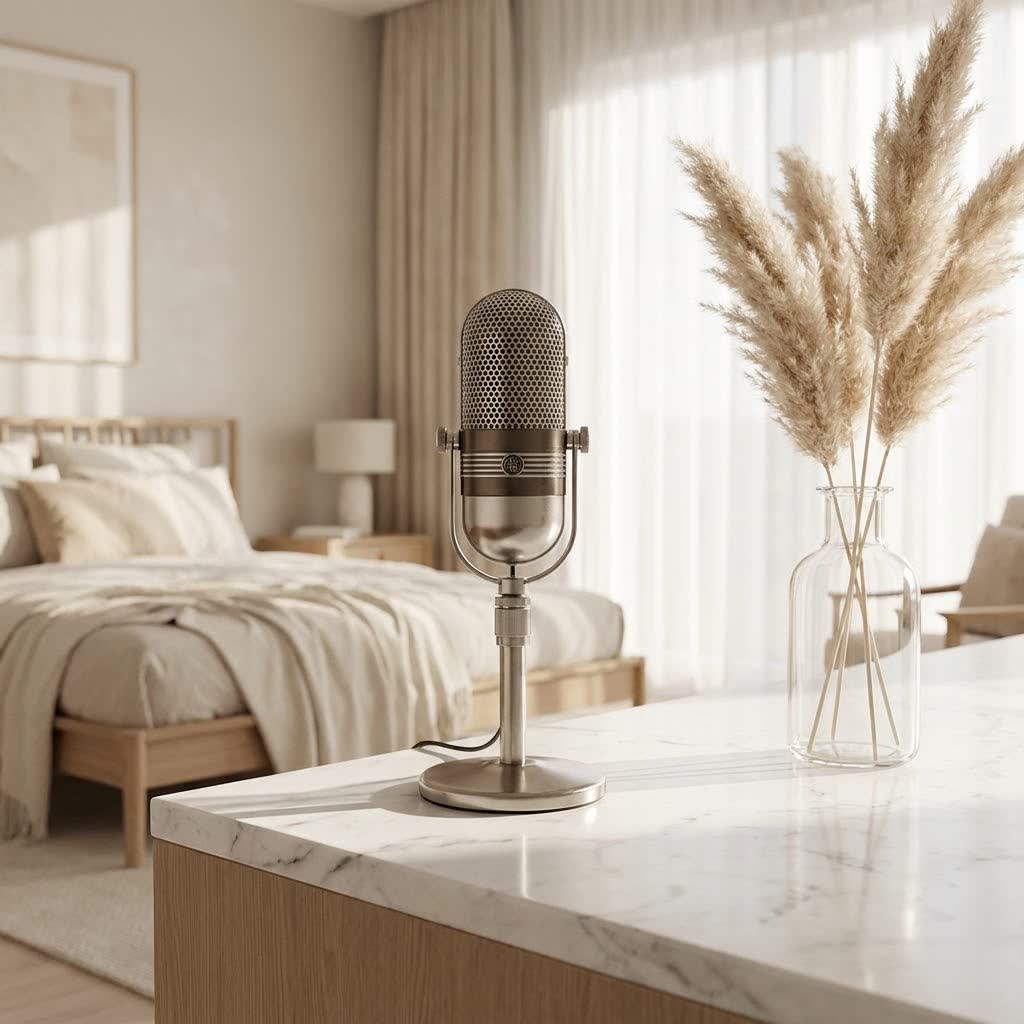
Stepping into the world of home recording is an exciting journey, and at its heart lies one crucial piece of gear: the Studio Project Mic. Whether you’re a budding musician, a podcasting enthusiast, or a voiceover artist, your microphone is the gateway for your creative vision to enter the digital realm. It’s not just about capturing sound; it’s about capturing emotion, clarity, and the very essence of your performance. As a seasoned audio engineer with over a decade in the trenches of music and broadcast, and a content creator for Tmava.com, I’m here to demystify the choices and techniques, transforming complex technical jargon into actionable insights for your project studio. Let’s dive deep into selecting, using, and maintaining the perfect studio project mic to elevate your recordings from good to truly exceptional.
Understanding the Landscape: Types of Studio Project Microphones
Choosing a studio project mic can feel overwhelming given the sheer variety available. Each type offers a unique sonic flavor and excels in different scenarios. Knowing these differences is your first step toward making an informed decision.
Dynamic Microphones: Your Indestructible Workhorses
Dynamic microphones are the unsung heroes of many home studios and live stages. They operate on a simple principle: sound waves cause a diaphragm to move a coil of wire within a magnetic field, generating an electrical signal.
- Pros: Dynamic mics are incredibly durable, capable of handling extremely high sound pressure levels (SPLs) without distortion, and typically less sensitive to background noise. Their robust build means they can take a beating and keep on performing.
- Cons: They generally have a slower transient response and offer less detailed high-frequency capture compared to their condenser counterparts.
- Applications: These mics are fantastic for recording loud sources like drums, electric guitar amps, and powerful vocals. Their lower sensitivity also makes them an excellent choice for recording in acoustically untreated rooms, as they pick up less ambient noise. Iconic examples like the Shure SM57 and SM58 are staples in any studio. For broadcast-quality vocals, especially in less-than-ideal environments, the Shure SM7B is a perennial favorite.
|
Our Picks for the Best Studio Mic in 2026
As an Amazon Associate I earn from qualifying purchases.
|
||
| Num | Product | Action |
|---|---|---|
| 1 | Condenser Microphone,PC Computer Podcast USB Condenser Microphone Cardioid Metal Mic Kit for Recording, Podcasting, Home Studio, YouTube, Black, BM-800 |

|
| 2 | Shure SM7B Vocal Dynamic Microphone – XLR Studio Mic for Podcasting, Recording, Broadcasting, Streaming & Gaming – Smooth, Warm Sound, Rugged Build, Detachable Windscreen, Wide Frequency Range, Black |
|
| 3 | Upgraded Studio Recording Microphone with Isolation Shield & Pop Filter - Music Condenser Mic for Podcasting, Singing, Home Studio - Sound for PC, Laptop, Smartphone |
|
| 4 | Studio Recording Microphone Isolation Shield with Pop Filter and Metal Tripod Stand, Studio Mic to PC Laptop Smartphone, Music Microphone for Recording Singing Podcasting |
|
| 5 | Shure SM4 Studio Recording Microphone Kit, XLR Home Studio Condenser Mic with Mix-Ready Audio - All-Metal Construction, Includes Detachable Magnetic Pop Filter & Shock Mount (SM4-K-KIT) |
|
| 6 | Audio-Technica AT2020 Cardioid Condenser Studio XLR Microphone, Ideal for Project/Home Studio Applications, Black |
|
| 7 | RØDE NT1 5th Generation Large-diaphragm Studio Condenser Microphone with XLR and USB Outputs, Shock Mount and Pop Filter for Music Production, Vocal Recording and Podcasting (Black) |
|
| 8 | AKG Pro Audio P120 - Affordable 2/3-Inch Diaphragm Condenser Microphone for Clear Vocals & Instruments. Studio Recording or Live. XLR Connector. Black |
|
| 9 | RØDE NT1 Signature Series Large-Diaphragm Condenser Microphone with Shock Mount, Pop Filter and XLR Cable for Music Production, Vocal Recording, Streaming and Podcasting (Black) |
|
| 10 | USB Microphone, MAONO 192KHZ/24Bit Plug & Play PC Computer Podcast Condenser Cardioid Metal Mic Kit with Professional Sound Chipset for Recording, Gaming, Singing, YouTube (AU-A04) |
|
Condenser Microphones: Capturing Every Nuance
Condenser microphones are often what people picture when they think of a “studio mic.” They operate by using a thin, electrically charged diaphragm positioned close to a fixed backplate, forming a capacitor. Sound waves cause the diaphragm to vibrate, changing the capacitance and generating a signal. This type requires external power, known as phantom power (+48V), usually supplied by your audio interface or mixer.
- Pros: Condensers are highly sensitive, boast a wide frequency response, and offer an incredibly fast transient response, allowing them to capture intricate details and subtle nuances in a performance. They deliver a pristine, clear, and open sound.
- Cons: Their sensitivity makes them more prone to picking up room reflections and background noise, making acoustic treatment more critical. They are also generally more fragile than dynamic mics.
- Applications: They are the go-to for vocals, acoustic guitars, piano, drum overheads, and any source where capturing detailed, airy highs and complex harmonics is crucial. Large-diaphragm condensers (LDCs) like the Neumann TLM 102 or Rode NT1 are popular for vocals and acoustic instruments, while small-diaphragm condensers (SDCs) are excellent for detailed instrument capture, like hi-hats or string sections, and for stereo miking.
Ribbon Microphones: The Warmth of Vintage Sound
Ribbon microphones are a special breed, technically a type of dynamic mic, but distinct enough to warrant their own category. They feature a thin, corrugated metal ribbon suspended in a magnetic field. When sound waves move the ribbon, it generates an electrical signal.
- Pros: Ribbon mics are renowned for their warm, smooth, and natural sound, often described as “creamy.” They have a flattering high-frequency roll-off and a fast, accurate transient response, making them excellent for taming harsh sources. Most ribbon mics naturally have a figure-8 polar pattern, picking up sound from both front and back while rejecting the sides, which can be creatively used for specific recording techniques.
- Cons: They are extremely fragile and highly susceptible to damage from phantom power (unless active ribbons) or strong gusts of air. Their output is typically very low, often requiring a high-gain, clean preamp.
- Applications: Ribbon mics are cherished for vocals, acoustic guitars, guitar amps, brass instruments, and anything that benefits from a classic, “vintage” sonic character. While not always the first choice for a budget studio project mic, their unique sound makes them invaluable for certain tasks.
USB Microphones: Simplicity for the Solo Creator
For beginners or those prioritizing simplicity, USB microphones offer a direct plug-and-play solution. They contain a microphone capsule, preamp, and analog-to-digital converter all in one unit, connecting directly to your computer via USB.
- Pros: Easy to set up and use, no additional audio interface required, and generally affordable. Ideal for podcasting, streaming, or quick voiceovers.
- Cons: Limited in terms of expandability (usually only one mic can be connected at a time), and often don’t offer the same flexibility or sound quality as a dedicated XLR mic with an audio interface.
Professional Recording Techniques for Your Project Studio
Having the right studio project mic is only half the battle; knowing how to use it effectively is equally important. Even in a home setup, applying some professional techniques can make a significant difference.
Microphone Placement: The Art of Listening
Microphone placement is arguably one of the most critical aspects of capturing a great recording. A few inches can dramatically alter the tone and character of your sound.
- For Vocals: A common starting point is about 6 inches (15 cm) from the microphone, aimed between the nose and mouth. To reduce plosives (harsh “p” and “t” sounds), sing or speak slightly off-axis, so your breath goes across the mic rather than directly into it. Always use a pop filter!
- For Acoustic Guitar: For a balanced sound, point the mic towards the 12th fret, about 9 inches (20 cm) away. Moving it closer to the sound hole will add more bass and warmth, while moving it closer to the neck will emphasize articulation.
- For Electric Guitar Amps: Experiment with placing the mic about 3 inches (9 cm) from the speaker cone, typically aimed at the edge between the cone and the dust cap for a fuller sound. Moving it closer to the center adds brightness, while further out adds more bass.
- Understanding Proximity Effect: The closer you get to most directional microphones (like cardioid patterns), the more bass frequencies they pick up. This “proximity effect” can be used creatively to add warmth and weight to vocals or instruments.
Gain Staging and Levels: Avoiding the Dreaded Clip
Proper gain staging ensures a clean signal without unwanted noise or distortion. Your goal is to record at a healthy level that’s strong enough to be clear but not so loud that it “clips” or distorts.
- Setting Input Levels: Before recording, perform a soundcheck. Have the performer give their loudest input, and adjust the preamp gain on your audio interface until your recording software’s meter peaks around -6dB to -3dB. This leaves enough “headroom” to prevent digital clipping, which is irreversible and sounds terrible.
- Auto Gain Features: Some modern audio interfaces, like the Focusrite Scarlett 2i2 or Shure’s MVX2U, offer auto-gain features that can simplify this process for beginners, automatically setting optimal levels.
Dealing with Room Noise and Acoustics
Home studios rarely have perfect acoustics, but there are ways to minimize issues.
- Pop Filters: Essential for vocals, pop filters block plosives and protect your mic from moisture.
- Interference Shielding: Some mics, like the Shure SM4, feature technology to reduce radio interference from phones and other wireless devices.
- Strategic Mic Choice: As mentioned, dynamic microphones are less sensitive to ambient noise, making them a good choice for untreated rooms.
- Basic Treatment: While professional acoustic treatment can be costly, simple solutions like heavy blankets, thick curtains, or even clothes in a closet can help absorb reflections and reduce reverb in your recording space.
Audio Processing with Your Studio Project Mic
Once you’ve captured a great recording with your studio project mic, post-production processing can polish and enhance your sound. Modern Digital Audio Workstations (DAWs) offer powerful tools and plugins for this.
- EQ (Equalization): This allows you to sculpt the frequency balance of your sound. You can cut muddy low-mids, boost crisp highs, or notch out annoying resonant frequencies. The key is to use EQ subtly and purposefully to make your tracks sit better in a mix.
- Compression: Compression reduces the dynamic range of a signal, making the quiet parts louder and the loud parts quieter. This results in a more consistent and punchy sound, helping vocals sit more evenly in a mix or making drums more impactful.
- Noise Reduction: If you have some residual room noise or hum, plugins like gates or de-noisers can help clean up the signal. However, remember that the best noise reduction happens at the source – a clean recording is always superior to a heavily processed one.
- Time-Based Effects (Reverb, Delay): These effects add space and depth to your recordings. A tasteful amount of reverb can make a vocal sound more natural and blend it into the mix, while delay can add rhythmic excitement.
Choosing the Right Project Mic for Your Needs: A Tailored Approach
With so many options, how do you pick the best studio project mic for you? It boils down to understanding your primary needs and constraints.
- What are you primarily recording?
- Vocals (singing/speaking): A large-diaphragm condenser is often ideal for capturing detail and clarity. If your room is untreated or your voice is powerful, a good dynamic mic like an SM7B can be a fantastic choice.
- Acoustic Instruments: Condensers (LDC or SDC) excel at capturing the full range and nuances of acoustic guitars, strings, or piano.
- Loud Instruments (Drums, Electric Guitar Amps): Dynamic mics are your go-to for their high SPL handling and focused sound.
- Podcasting/Voiceover: USB mics offer convenience for beginners, while a quality dynamic or LDC with an interface provides superior flexibility and sound.
- What is your recording environment like? If you have an acoustically treated room, condensers will shine. For untreated spaces with ambient noise, dynamic mics are more forgiving.
- What’s your budget? There are excellent options at every price point. Don’t feel pressured to buy the most expensive mic; focus on the best value for your specific application. For instance, the Audio Technica AT2020 is a brilliant budget condenser, and the Shure SM57/SM58 are incredibly affordable and versatile dynamic mics.
- Do you have an audio interface? Condenser and ribbon mics require an audio interface with phantom power. USB mics bypass this, but at the cost of expandability.
- Versatility vs. Specialization: Some mics are generalists (e.g., SM57), others are more specialized (e.g., certain ribbon mics). For a project studio, a versatile mic is often a smart first investment.
“The perfect studio project mic isn’t about the price tag; it’s about the right tool for the job, meticulously placed and carefully recorded. Understand your source, listen to your room, and let your creativity guide your choices.” — Eleanor Vance, Senior Audio Engineer at Tmava.com
Maintenance and Care for Your Studio Microphones
Your studio project mic is an investment, and proper care will ensure its longevity and consistent performance.
- Cleaning: Gently wipe the microphone body with a soft, dry cloth after use. Avoid getting moisture into the capsule or electronics. For grilles, a soft brush can remove dust or debris. Never use harsh chemicals.
- Storage: Store your microphones in their original cases or a padded pouch when not in use. This protects them from dust, moisture, and physical damage. Ideally, store them in a climate-controlled environment, away from extreme temperatures and humidity.
- Handling Fragile Mics: Be extra careful with condenser and especially ribbon microphones. Avoid dropping them or exposing them to sudden blasts of air. For ribbon mics, never apply phantom power unless it’s an active ribbon mic specifically designed for it, as this can destroy the delicate ribbon element.
- Phantom Power Protocol: When using condenser mics, always connect the XLR cable to the mic and the audio interface before turning on phantom power. Similarly, turn off phantom power before disconnecting the mic. This prevents potential pops, clicks, or damage to your equipment.
Frequently Asked Questions
Q: What’s the best studio project mic for beginners?
A: For beginners, versatile and durable options like the Shure SM57 or SM58 dynamic mics are excellent. If you’re focusing on vocals and have a quieter space, an affordable large-diaphragm condenser like the Audio Technica AT2020 is a great start. USB mics like the Rode NT-USB also offer an easy entry point.
Q: Do I need phantom power for my studio mic?
A: Yes, condenser microphones require 48V phantom power to operate. This power is typically supplied by your audio interface, mixer, or a dedicated phantom power supply. Dynamic microphones generally do not require phantom power, and it can potentially damage some older ribbon microphones.
Q: Can I use a dynamic mic for vocals in my home studio?
A: Absolutely! Dynamic mics like the Shure SM7B or even an SM58 are widely used for vocals in both professional and home studios, especially if you have a powerful voice or are recording in an acoustically untreated room where their lower sensitivity helps reduce background noise.
Q: What’s the difference between large-diaphragm and small-diaphragm condensers?
A: Large-diaphragm condensers (LDCs) are known for their warm, full sound and are often favored for vocals and acoustic instruments due to their ability to capture rich low-mids and detailed highs. Small-diaphragm condensers (SDCs) are typically more accurate, have excellent transient response, and are ideal for precise instrument capture, drum overheads, and stereo recording.
Q: How important is an audio interface for a project studio?
A: An audio interface is crucial for most project studios, converting the analog signal from your XLR microphones into a digital signal your computer can understand. It also provides phantom power for condenser mics, better preamps, and dedicated outputs for studio monitors and headphones, significantly improving sound quality and workflow compared to direct computer input.
Q: How do I reduce background noise in my home studio recordings?
A: Start with your room: minimize reflections with soft furnishings, blankets, or acoustic panels. Choose the right mic: dynamic mics are less sensitive to ambient noise. Use proper mic placement to focus on the source. Ensure good gain staging. Finally, post-production tools like gates or de-noisers can help, but a clean initial recording is always best.
Q: What is “proximity effect”?
A: Proximity effect is an increase in bass frequencies that occurs when a directional microphone (like a cardioid or figure-8 pattern mic) is placed very close to a sound source. Audio engineers often use this phenomenon creatively to add warmth or weight to vocals or instruments.
Your Sound, Your Studio: The Power of the Studio Project Mic
The journey to great audio begins with understanding your tools. Your studio project mic is more than just a piece of equipment; it’s an extension of your creative voice. By grasping the nuances of dynamic, condenser, and ribbon microphones, mastering essential recording techniques, and committing to proper care, you’re not just buying a microphone—you’re investing in the quality and professionalism of your sound. At Tmava.com, we believe that exceptional audio is within reach for every creator, and with these insights, you’re now equipped to make informed decisions, capture stunning recordings, and truly make your mark. So, go forth, experiment, and let your studio project mic bring your sonic visions to life!