Choosing the right singing studio mic is crucial for capturing high-quality vocal recordings, with large-diaphragm condenser microphones like the Neumann U87 Ai being a top choice for their sensitivity and detailed sound. These microphones, along with proper technique and acoustic treatment, ensure that vocal nuances, emotion, and power are accurately preserved. Understanding microphone types, placement, and post-recording processing is essential for achieving professional-grade vocal tracks in any studio environment.
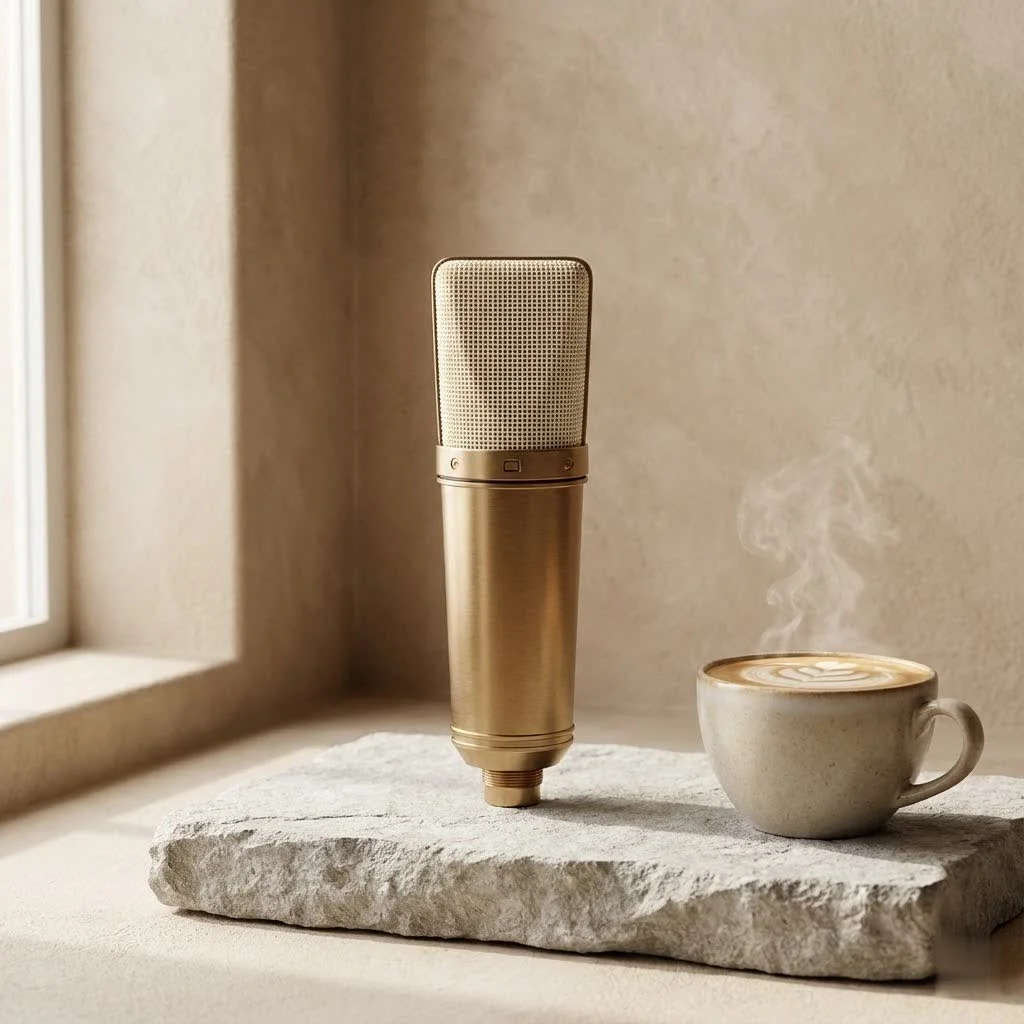
Whether you’re laying down tracks in a professional studio or crafting your sound in a cozy home setup, understanding the intricate world of studio microphones for vocals is a major upgrade. We’re going to dive deep, cutting through the jargon to give you the practical, actionable knowledge you need to improve your vocal recordings to industry-standard quality. Get ready to discover how to make your voice truly shine.
Types of Studio Microphones for Singing: Finding Your Perfect Match
When it comes to capturing vocals, not all microphones are created equal. Each type of singing studio mic boasts unique characteristics that make it better suited for different vocal styles, environments, and desired sonic textures. Let’s break down the main contenders you’ll encounter in any serious recording setup.
Condenser Microphones
Condenser microphones are often the go-to choice for studio vocals, and for good reason. They are renowned for their sensitivity, wide frequency response, and ability to capture intricate details and subtle nuances of a voice.
- Large-Diaphragm Condensers: These are perhaps the most iconic studio mics, known for delivering a full, rich, and detailed sound. They excel at capturing a broad frequency range, making them ideal for everything from delicate ballads to powerful rock anthems. Popular choices often include the Neumann U87 Ai or the AKG C414 XLII, praised for their versatility and pristine audio quality. The larger diaphragm means they are more sensitive to sound waves, resulting in a warmer and often more “finished” sound.
- Small-Diaphragm Condensers: While less common for lead vocals, small-diaphragm condensers offer exceptional transient response and clarity, making them excellent for capturing acoustic instruments or backing vocals where pinpoint accuracy is desired.
- Tube Condensers: These microphones incorporate a vacuum tube in their circuitry, which imparts a characteristic warmth, subtle compression, and harmonic richness to the sound. Many classic vocal recordings owe their timeless quality to tube mics like the Warm Audio WA-47. They tend to be more expensive but offer a distinct, luxurious sonic signature that many artists adore.
Dynamic Microphones
While condensers dominate the studio landscape for vocals, dynamic microphones hold a special place, particularly for certain vocal types and recording situations. They are generally more robust, less sensitive, and can handle high sound pressure levels (SPL) without distortion.
- Popular Choices for Vocals: The Shure SM7B is a legendary dynamic mic often found in broadcast studios and increasingly embraced by vocalists for its ability to deliver a smooth, present, and controlled sound. It’s particularly effective at rejecting room noise, making it a stellar option for untreated home studios. Another stalwart, the Electro-Voice RE20, offers similar benefits with its “Variable-D” technology, minimizing the proximity effect and providing a consistent tonal balance even when singing close. While primarily known for live performances, the Shure SM58 can even be a reliable, affordable option for demoing vocals, offering consistent sound for various vocal takes.
Ribbon Microphones
|
Our Picks for the Best Studio Mic in 2026
As an Amazon Associate I earn from qualifying purchases.
|
||
| Num | Product | Action |
|---|---|---|
| 1 | Upgraded Studio Recording Microphone with Isolation Shield & Pop Filter - Music Condenser Mic for Podcasting, Singing, Home Studio - Sound for PC, Laptop, Smartphone |

|
| 2 | Audio-Technica AT2020 Cardioid Condenser Studio XLR Microphone, Ideal for Project/Home Studio Applications, Black |
|
| 3 | Shure SM7B Vocal Dynamic Microphone – XLR Studio Mic for Podcasting, Recording, Broadcasting, Streaming & Gaming – Smooth, Warm Sound, Rugged Build, Detachable Windscreen, Wide Frequency Range, Black |
|
| 4 | Studio Recording Microphone Isolation Shield with Pop Filter and Metal Tripod Stand, Studio Mic to PC Laptop Smartphone, Music Microphone for Recording Singing Podcasting |
|
| 5 | RØDE NT1 5th Generation Large-diaphragm Studio Condenser Microphone with XLR and USB Outputs, Shock Mount and Pop Filter for Music Production, Vocal Recording and Podcasting (Black) |
|
| 6 | Shure SM4 Studio Recording Microphone Kit, XLR Home Studio Condenser Mic with Mix-Ready Audio - All-Metal Construction, Includes Detachable Magnetic Pop Filter & Shock Mount (SM4-K-KIT) |
|
| 7 | Condenser Microphone,PC Computer Podcast USB Condenser Microphone Cardioid Metal Mic Kit for Recording, Podcasting, Home Studio, YouTube, Black, BM-800 |
|
| 8 | USB Microphone, MAONO 192KHZ/24Bit Plug & Play PC Computer Podcast Condenser Cardioid Metal Mic Kit with Professional Sound Chipset for Recording, Gaming, Singing, YouTube (AU-A04) |
|
| 9 | AKG Pro Audio P120 - Affordable 2/3-Inch Diaphragm Condenser Microphone for Clear Vocals & Instruments. Studio Recording or Live. XLR Connector. Black |
|
| 10 | RØDE NT1 Signature Series Large-Diaphragm Condenser Microphone with Shock Mount, Pop Filter and XLR Cable for Music Production, Vocal Recording, Streaming and Podcasting (Black) |
|
Ribbon microphones are revered for their smooth, warm, and natural sound, often described as “vintage” or “creamy.” They typically have a bidirectional (figure-8) polar pattern, meaning they pick up sound from the front and back while rejecting it from the sides.
- Vocal Application: Ribbon mics can impart a unique, silky quality to vocals, particularly well-suited for jazz, blues, or any genre where a warm, classic aesthetic is desired. However, their delicate nature and lower output mean they often require a high-quality preamp with ample gain.
Professional Recording Techniques for Your Singing Studio Mic
Having the right singing studio mic is only half the battle; knowing how to use it is where the magic truly happens. Effective microphone technique can drastically improve your vocal recordings, making them sound polished and professional.
Mic Placement: The Art of Distance and Angle
The distance and angle at which you sing into the microphone profoundly impact the recorded sound.
- Distance: A common starting point is to position the microphone 6 to 12 inches (15 to 30 cm) from the singer’s mouth. Singing closer can create a more intimate sound and leverage the “proximity effect” (an increase in bass frequencies when close to a directional mic), which can add warmth and body. However, too close can lead to muddiness or excessive plosives. Conversely, singing further away will capture more of the room’s acoustics and a thinner sound.
- Angle: Singing slightly off-axis (e.g., at a 45-degree angle to the side of your mouth) can help reduce plosive sounds and sibilance. As Dr. Anya Sharma, lead acoustician at Sonic Solutions, often says, “The slightest shift in microphone angle can unlock a completely new sonic dimension for a vocalist.”
Utilizing Pop Filters and Shock Mounts
These accessories are non-negotiable for professional vocal recordings.
- Pop Filters: A pop filter, typically a mesh screen, is placed between the singer and the microphone. Its primary function is to diffuse the blast of air from plosive consonants, preventing those jarring “pops” that can ruin a take. It also acts as a hygienic barrier.
- Shock Mounts: A shock mount cradles the microphone and isolates it from vibrations transmitted through the microphone stand, such as footsteps, bumps, or even rumble from nearby equipment. This ensures that only your voice, and not extraneous mechanical noise, is captured.
Setting Gain Levels and Dialing in Your Headphone Mix
Getting your input levels right is crucial to avoid distortion and ensure a strong, clean signal.
- Gain Adjustment: Start with a low gain setting on your audio interface or preamplifier and gradually increase it while the singer performs their loudest passage. Aim for a healthy signal that peaks around -6dB to -10dB on your digital audio workstation (DAW) meter, leaving enough “headroom” to prevent clipping.
- Headphone Mix: A comfortable and inspiring headphone mix is vital for a singer’s performance. They need to hear themselves clearly, often with a touch of reverb or delay, and blend well with the instrumental backing. A good headphone mix empowers the singer to deliver their best take.
Acoustic Environment and Room Treatment
The room where you record plays a significant role in the final sound captured by your singing studio mic.
- Treating Your Space: An untreated room can introduce unwanted reflections, reverb, and standing waves, making your vocals sound boxy, muddy, or distant. Using acoustic panels, bass traps, and diffusers can dramatically improve the room’s sound, creating a more controlled and neutral environment. Even simple solutions like blankets, duvets, or a portable vocal booth can make a difference in a home studio.
Audio Processing with Your Singing Studio Mic
Once you’ve captured stellar vocal takes with your singing studio mic, the next step is often audio processing to refine and enhance them. While we won’t go into deep mixing techniques here, understanding the basics of post-recording treatment is essential.
- Equalization (EQ): EQ allows you to shape the tonal balance of your vocals, boosting desirable frequencies for clarity and presence, and cutting undesirable ones that might cause muddiness or harshness. For example, a slight boost in the upper-mid frequencies can help a vocal cut through a mix.
- Compression: A compressor reduces the dynamic range of a vocal performance, making the quiet parts louder and the loud parts quieter. This creates a more consistent and controlled sound, ensuring the vocal sits well in the mix without suddenly jumping out or getting lost.
- Noise Reduction and De-essing: While good mic technique minimizes noise, sometimes slight background hum or sibilance persists. Noise reduction tools can subtly clean up unwanted ambient noise, while de-essers target and reduce harsh “s” and “sh” sounds, making the vocal smoother and more pleasant to listen to.
- Effects: Reverb and delay are common effects used to add space, depth, and character to vocals, helping them sit naturally within the song’s soundscape.
Choosing the Perfect Singing Studio Mic for Your Voice and Space
Selecting the “best” singing studio mic is a deeply personal journey, as what works wonders for one vocalist might not suit another. It’s less about finding the most expensive mic and more about finding the one that complements your unique voice and recording environment.
Matching the Mic to Your Vocal Characteristics
- Bright or Sibilant Voices: If your voice naturally has a lot of high-frequency energy or tends to be sibilant, you might opt for a microphone with a smoother high-end response, perhaps a ribbon mic or a condenser known for its neutral top end. Some dynamic mics like the Shure SM7B are also excellent at taming overly bright vocals.
- Deep or Warm Voices: For voices that need more clarity and presence, a condenser with a slight presence boost in the upper mids might be ideal. Conversely, if a deep voice sounds muddy, a mic that doesn’t overemphasize the low frequencies or a dynamic mic designed to maintain weight without muddiness could be beneficial.
- Versatility: If you record various vocalists or styles, a multi-pattern condenser like the AKG C414 offers immense flexibility, allowing you to switch between cardioid, omnidirectional, or figure-8 patterns to best suit the performance and room.
Considering Your Recording Environment
- Treated vs. Untreated Room: In a well-treated studio, a sensitive large-diaphragm condenser can capture all the exquisite detail of your voice. However, in an untreated or noisy home studio, a dynamic microphone like the Shure SM7B or Electro-Voice RE20 is often a superior choice. Their lower sensitivity and excellent off-axis rejection help to minimize unwanted room reflections and external noise, giving you a cleaner vocal track.
Budget Considerations
High-quality singing studio mic options exist across all price points. While top-tier microphones often offer unparalleled fidelity, there are fantastic budget-friendly options like the Audio-Technica AT2020 or Rode NT1 that deliver professional-grade results, especially for home studios. It’s often better to invest in a solid, reliable microphone that fits your budget and complement it with good recording techniques and room treatment, rather than overspending on a mic that doesn’t suit your setup.
The Importance of “A/B Testing”
The absolute best way to choose your ideal singing studio mic is to try several options. If possible, rent or borrow a few different microphones and perform an “A/B test.” Record the same vocal passage with each mic, through the same preamplifier, and ensure the gain levels are matched. Listen back critically, focusing on how each mic flatters your voice, how it handles dynamics, and how it sounds in your specific recording space. Your ears are the ultimate judge.
Maintenance and Care for Your Singing Studio Mic
Your singing studio mic is a precision instrument, and like any fine tool, it requires proper care and maintenance to ensure longevity and consistent performance. Neglecting your microphone can lead to diminished sound quality, costly repairs, or even premature failure.
- Cleaning: Always use a pop filter to protect the capsule from moisture, saliva, and makeup. Regularly wipe down the microphone body with a soft, dry, lint-free cloth. For the grille, a soft brush can carefully remove dust and debris. Never spray cleaning solutions directly onto the microphone.
- Proper Storage: When not in use, store your microphone in its original case or a protective pouch, ideally with a desiccant packet to absorb moisture. This protects it from dust, humidity, and accidental knocks. Avoid storing microphones in extreme temperatures.
- Handling and Transportation: Always handle microphones with care, especially sensitive condenser and ribbon mics. Use a shock mount to absorb vibrations when mounted on a stand. When transporting, ensure microphones are securely packed in padded cases to prevent damage. Avoid touching the capsule or diaphragm directly.
By following these simple care guidelines, you’ll extend the life of your valuable singing studio mic and ensure it’s always ready to capture your best vocal performances.
improve your Sound, Empower Your Voice
The journey to mastering vocal recording begins with understanding your singing studio mic – its types, its techniques, and its care. It’s a combination of technical knowledge, artistic sensibility, and a willingness to experiment. At Tmava.com, we believe that every voice deserves to be heard with clarity and impact. By applying the insights shared here, you’re not just buying a microphone; you’re investing in your vocal future.
So, take these principles, apply them to your craft, and don’t be afraid to try new things. Experiment with mic placements, listen critically to your recordings, and discover what truly makes your voice resonate. The perfect vocal take is within your reach, and with the right singing studio mic and technique, you’ll be well on your way to creating recordings that truly inspire. We encourage you to explore different microphones and techniques, share your experiences with the Tmava community, and continue honing your audio engineering skills. Your voice is unique; let’s make sure its recording is too.
Get our weekly buyer guide
Practical specs, not advice. Unsubscribe anytime.
I picked up a Neumann U87 Ai after reading about its reputation, and while the sound quality is undeniably superb, I found it to be a bit too sensitive for my untreated room. I’m getting a lot of background noise that I didn’t anticipate. It’s a fantastic mic, but definitely requires more acoustic treatment than I currently have. Something to consider if your space isn’t perfectly soundproofed.
I’ve been using a ribbon mic for a while, and while it has its charm, I was curious about other options for capturing more vocal nuances. The breakdown of different microphone types helped me understand why a condenser might be better for certain vocal styles. It’s great to have that clarity when making gear decisions.
The section on post-recording processing was super helpful. I always struggled with getting my vocals to sit right in the mix, but applying some of those EQ and compression tips made a huge difference. It’s not just about the mic itself, but how you handle the audio afterwards. My tracks are sounding much more professional now.
I finally upgraded to a large-diaphragm condenser mic after years of using a cheaper dynamic, and the difference is night and day. My vocals sound so much richer and detailed now. The advice on proper mic placement really helped me dial in the sweet spot for my home studio. Definitely worth the investment for anyone serious about their vocal tracks.