Ever been in a studio, trying to communicate with a musician in the live room, only to resort to hand signals or shouting? It’s a classic scenario, and if you’re a recording engineer, producer, or even an aspiring home studio enthusiast, you know how crucial clear communication is. That’s where a Talkback Mic For Studio setups becomes your absolute best friend. It’s not just a convenience; it’s a fundamental tool that streamlines your workflow, fosters better collaboration, and keeps your recording sessions running smoothly and professionally.
At Tmava, we understand the nuances of studio equipment, and the talkback mic, while often overlooked, is a cornerstone of efficient production. This isn’t just about yelling into a microphone; it’s about seamless, intelligible dialogue that empowers both you and the artists you’re working with, creating a comfortable and productive environment.
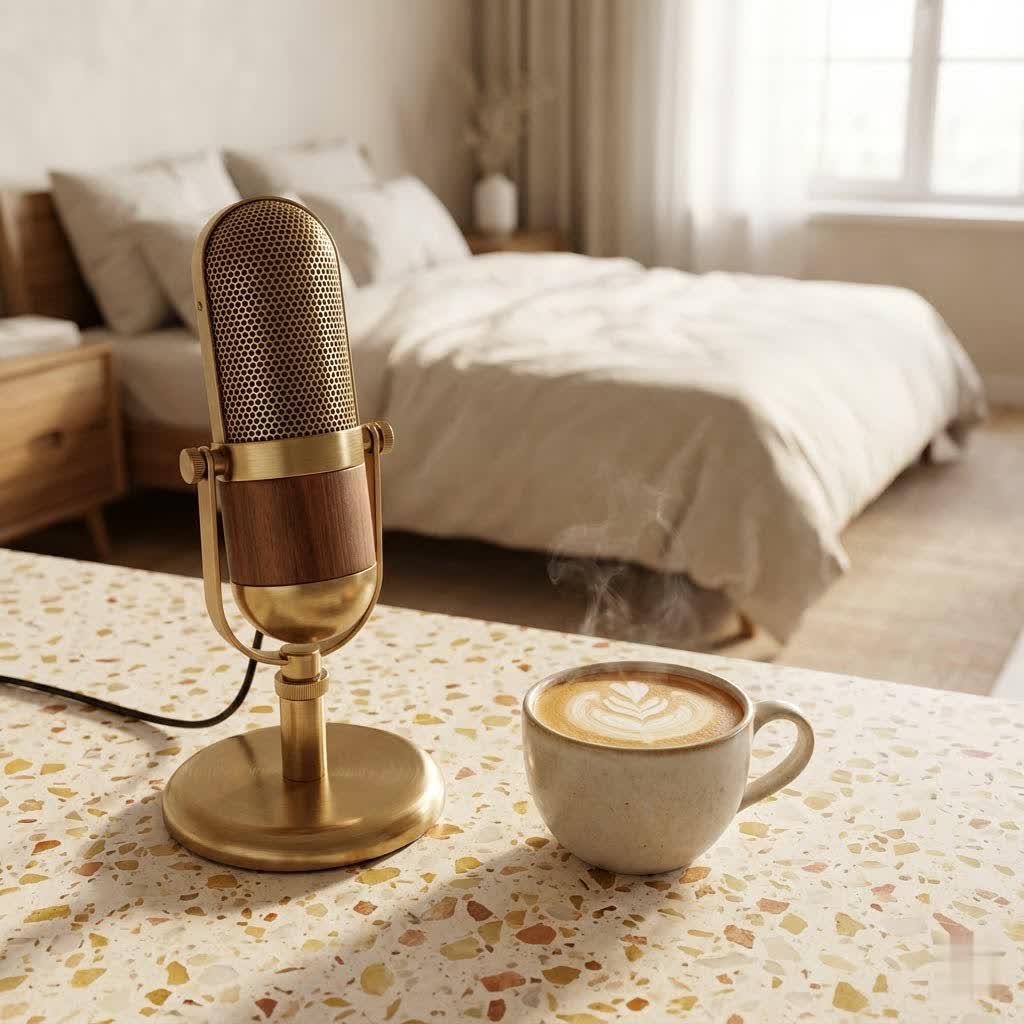
What Exactly is a Talkback Mic for Studio Environments?
A talkback microphone is essentially a dedicated microphone in the control room that allows the engineer or producer to speak directly to the musicians or vocalists in the live room or vocal booth through their headphones. Think of it as an intercom system for your studio, but specifically designed for the high-fidelity demands of audio production. It’s an indispensable part of a professional studio console or interface, enabling real-time, hands-free communication without bleeding into the main recording signal.
Why is a Talkback Mic Indispensable in Your Studio Workflow?
|
Our Picks for the Best Studio Mic in 2026
As an Amazon Associate I earn from qualifying purchases.
|
||
| Num | Product | Action |
|---|---|---|
| 1 | USB Microphone, MAONO 192KHZ/24Bit Plug & Play PC Computer Podcast Condenser Cardioid Metal Mic Kit with Professional Sound Chipset for Recording, Gaming, Singing, YouTube (AU-A04) |

|
| 2 | RØDE NT1 5th Generation Large-diaphragm Studio Condenser Microphone with XLR and USB Outputs, Shock Mount and Pop Filter for Music Production, Vocal Recording and Podcasting (Black) |
|
| 3 | Audio-Technica AT2020 Cardioid Condenser Studio XLR Microphone, Ideal for Project/Home Studio Applications, Black |
|
| 4 | Studio Recording Microphone Isolation Shield with Pop Filter and Metal Tripod Stand, Studio Mic to PC Laptop Smartphone, Music Microphone for Recording Singing Podcasting |
|
| 5 | Upgraded Studio Recording Microphone with Isolation Shield & Pop Filter - Music Condenser Mic for Podcasting, Singing, Home Studio - Sound for PC, Laptop, Smartphone |
|
| 6 | AKG Pro Audio P120 - Affordable 2/3-Inch Diaphragm Condenser Microphone for Clear Vocals & Instruments. Studio Recording or Live. XLR Connector. Black |
|
| 7 | Condenser Microphone,PC Computer Podcast USB Condenser Microphone Cardioid Metal Mic Kit for Recording, Podcasting, Home Studio, YouTube, Black, BM-800 |
|
| 8 | RØDE NT1 Signature Series Large-Diaphragm Condenser Microphone with Shock Mount, Pop Filter and XLR Cable for Music Production, Vocal Recording, Streaming and Podcasting (Black) |
|
| 9 | Shure SM4 Studio Recording Microphone Kit, XLR Home Studio Condenser Mic with Mix-Ready Audio - All-Metal Construction, Includes Detachable Magnetic Pop Filter & Shock Mount (SM4-K-KIT) |
|
| 10 | Shure SM7B Vocal Dynamic Microphone – XLR Studio Mic for Podcasting, Recording, Broadcasting, Streaming & Gaming – Smooth, Warm Sound, Rugged Build, Detachable Windscreen, Wide Frequency Range, Black |
|
The benefits of integrating a talkback mic are immediate and profound. Firstly, it drastically improves communication efficiency. Instead of repeatedly stopping takes, opening doors, or resorting to gestures, you can offer immediate feedback, direction, or encouragement. This saves precious time and maintains the creative flow. Secondly, it enhances the recording environment for the artist. They feel connected and supported, understanding that you’re always just a button press away, which can significantly reduce performance anxiety and improve concentration. Finally, it elevates your professional image, demonstrating an organized and well-equipped studio that prioritizes clear communication.
Anatomy of a Studio Talkback System
While the core function of a talkback mic is simple, the system behind it can vary. Understanding its components helps you optimize its use.
The Microphone Itself
Any decent dynamic or condenser microphone can technically be used for talkback, but many consoles and interfaces feature a dedicated, often built-in, talkback mic. These are typically small, omnidirectional, and optimized for speech clarity rather than musical capture. The key here is reliability and low noise, ensuring your instructions are heard, not muffled.
The Talkback Circuitry
This is where the magic happens. When you engage the talkback button, the system routes your microphone signal directly to the artist’s headphone mix, often ducking (attenuating) the main program material slightly so your voice stands out. This automatic ducking is crucial – it means you don’t have to manually adjust levels every time you speak. Modern digital consoles and audio interfaces often have sophisticated talkback routing options, allowing you to send your voice to specific headphone mixes or even to different rooms.
Integration with Your Console or Interface
Most professional mixing consoles and many mid-to-high-end audio interfaces include a dedicated talkback section. This typically features a built-in mic, a “Talk” button, and sometimes controls for the talkback level or routing. For those without a built-in solution, external talkback units or simply routing a spare microphone through an auxiliary send can serve the purpose, though often with less elegant functionality.
Setting Up Your Talkback Mic for Optimal Performance
Getting your talkback system right isn’t rocket science, but a few considerations can make a big difference.
Choosing the Right Placement
If you’re using an external microphone, place it somewhere easily accessible from your mixing position, but out of the way of your main monitor speakers to minimize feedback. A desktop stand is often ideal. For built-in mics, ensure your console or interface is positioned so you can speak directly into it naturally.
Gain Staging for Clarity
The talkback mic’s gain needs to be set appropriately. Too low, and artists will strain to hear you; too high, and you risk distortion or feedback. A good starting point is to speak at a normal conversational volume and adjust the gain so that your voice is clear and present in the artist’s headphones, perhaps just a touch louder than the music.
The Ever-Present “Talk” Button
Familiarize yourself with your talkback button. Is it momentary (press and hold) or latching (press once to engage, press again to disengage)? Most engineers prefer a momentary button for quick, controlled bursts of communication, preventing accidental broadcast of control room chatter.
Routing to the Right Places
Modern interfaces and consoles offer flexible routing. Ensure your talkback signal is only going to the headphone mixes of the artists you intend to speak to, and not accidentally to main outputs or other recording channels. This is vital for maintaining clean recordings and privacy.
“A talkback mic isn’t just about talking; it’s about building trust and maintaining flow. When an artist knows they can hear you clearly and instantly, they relax and perform better. It’s an invisible bridge between inspiration and capture.” – Eleanor Vance, Senior Audio Production Specialist
Advanced Techniques and Considerations for Your Talkback Mic
Beyond the basic setup, there are several ways to leverage your talkback system for a truly professional experience.
Managing Headphone Mixes
The talkback signal should integrate seamlessly with the artist’s headphone mix. Ensure it’s audible without being overwhelming, and that the main music program ducks enough for your voice to cut through without being completely silenced. This allows artists to hear your instructions in context with the music they’re playing or singing along to.
Minimizing Control Room Bleed
One of the biggest challenges with talkback mics is preventing unwanted control room sounds (like your monitoring speakers or office chatter) from leaking into the talkback signal.
- Headphone Volume: Encourage artists to use reasonable headphone volumes.
- Mic Placement: Position your talkback mic away from monitor speakers.
- Gate/Expander: Some advanced talkback systems or external processors allow you to put a subtle gate or expander on the talkback mic to reduce background noise when you’re not speaking.
Utilizing Talkback for Creative Purposes (Carefully!)
While its primary role is communication, some engineers occasionally use the talkback mic for specific creative effects, such as a lo-fi, megaphone-like vocal effect. This is rare and requires careful routing to avoid feedback and signal degradation, but it showcases the versatility of even the most utilitarian studio tools.
When Not to Use Talkback
It’s tempting to use the talkback for every little comment, but sometimes, a brief silence or a nod is more effective. Over-communicating can distract artists. Reserve the talkback for essential instructions, constructive feedback, or crucial encouragement.
Choosing the Right Talkback Solution for Your Studio
Whether you’re building a new studio or upgrading an existing one, consider these factors when selecting your talkback solution.
For Integrated Console/Interface Users
If your audio interface or mixing console already has a talkback feature, chances are it’s well-designed and sufficient for most needs. Focus on understanding its routing options and optimizing its built-in mic. Check for features like automatic dimming of main monitors when talkback is active, which is a huge convenience.
For External Talkback Solutions
If your setup lacks integrated talkback, you have options:
- Dedicated Talkback Unit: Companies like Drawmer or Hear Technologies offer dedicated talkback controllers that provide professional features, routing, and headphone distribution.
- Simple Mic + Aux Send: The most budget-friendly option is to use a spare dynamic mic (like an SM58), connect it to an input on your interface, and route that input to an auxiliary send that feeds your headphone amplifier. This requires manual control over levels and often lacks automatic dimming, but it gets the job done.
- USB Microphones: For very basic setups, a high-quality USB microphone can be used with DAW routing for talkback, though this might introduce latency or require more complex software configuration.
“Don’t underestimate the power of a clear ‘great take!’ through the talkback. Positive reinforcement is just as important as technical direction, and a good talkback system delivers both seamlessly.” – Mark Jenkins, Founder & Lead Engineer at Sonic Innovations
Maintaining and Troubleshooting Your Talkback System
Like any piece of studio gear, your talkback mic needs a little love to perform consistently.
Regular Cleaning
If your talkback mic is exposed, dust and debris can accumulate. A soft brush or compressed air can keep the grille clean. For built-in mics, ensure the surrounding console area is tidy.
Cable Checks
For external talkback mics, ensure the cable is in good condition. Frayed or damaged cables can lead to intermittent signal or noise.
Troubleshooting Common Issues
- No Sound: Check the mic connection, gain settings, talkback button engagement, and headphone routing. Ensure the artist’s headphones are working and properly connected.
- Feedback: Reduce mic gain, move the mic further from monitor speakers, or decrease monitor volume. Check for incorrect routing sending talkback to main outputs.
- Distortion: Lower the talkback mic gain.
- Intermittent Signal: Check all cable connections, and ensure the talkback button isn’t faulty.
Frequently Asked Questions about Studio Talkback Mics
Q: Can I use any microphone as a talkback mic?
A: While you technically can use almost any microphone, dynamic microphones like an Shure SM58 are often preferred for external talkback due to their durability, cardioid pattern (which helps reject control room noise), and good speech intelligibility. Condenser mics can also work, but might pick up more ambient noise. Built-in talkback mics are usually omnidirectional for convenience.
Q: Does a talkback mic affect the sound quality of my recordings?
A: Absolutely not, if routed correctly. A talkback mic’s signal is strictly for communication and should never be routed into the main recording paths or mix buses that go to your master output. It’s a separate communication channel.
Q: What’s the difference between a “talkback” button and a “dim” button on a console?
A: A “talkback” button activates the talkback microphone, sending your voice to the artist’s headphones. A “dim” button simply reduces the volume of your main control room monitors, typically so you can have a brief conversation in the control room without yelling over loud playback, or sometimes it’s linked to the talkback function.
Q: Do I need a dedicated talkback unit for a home studio?
A: For a basic home studio, a dedicated talkback unit might be overkill. Many modern audio interfaces include built-in talkback or offer easy routing options using a spare microphone and an auxiliary send to your headphone amplifier. However, for more complex setups with multiple headphone mixes, a dedicated unit can offer more flexibility and features.
Q: How do I prevent control room background noise from going through the talkback mic?
A: Position your talkback mic away from monitor speakers and noisy equipment. Use a microphone with a tight polar pattern (like cardioid) if it’s an external mic. Some talkback systems also allow you to add a noise gate or expander to the talkback channel to automatically mute it when you’re not speaking, effectively reducing ambient noise.
Conclusion: Elevate Your Studio Communication with a Talkback Mic
The talkback mic might seem like a small detail, but its impact on your studio’s efficiency and professional appeal is immense. It’s the voice of your control room, the essential link between engineer and artist, turning potential frustration into seamless collaboration. By understanding its purpose, proper setup, and thoughtful use, you can transform your recording sessions into smoother, more productive, and ultimately, more enjoyable experiences for everyone involved. Investing in a reliable talkback mic for studio use is investing in better communication, better workflow, and ultimately, better music.