Stepping into the world of music production can be exhilarating, and at its heart lies a crucial decision: selecting the ideal Mic For Music Studio applications. It’s not just about grabbing “any” microphone; it’s about finding the right tool to capture the nuances of your artistry, whether you’re laying down silky vocals, punchy drums, or intricate acoustic guitar riffs. As a seasoned audio engineer with over a decade in the field, I understand the challenges and triumphs of transforming raw sound into polished tracks. This guide from Tmava is designed to cut through the jargon, helping you confidently navigate the vast array of studio microphones and elevate your recordings to professional standards.
Getting your hands on the perfect mic for music studio use can truly be a game-changer. It’s the primary gateway for your sound, directly influencing the clarity, warmth, and character of your tracks. Let’s dive into the core types of microphones, unravelling their secrets, and then explore the techniques and considerations that will empower you to make informed decisions for your unique musical journey.
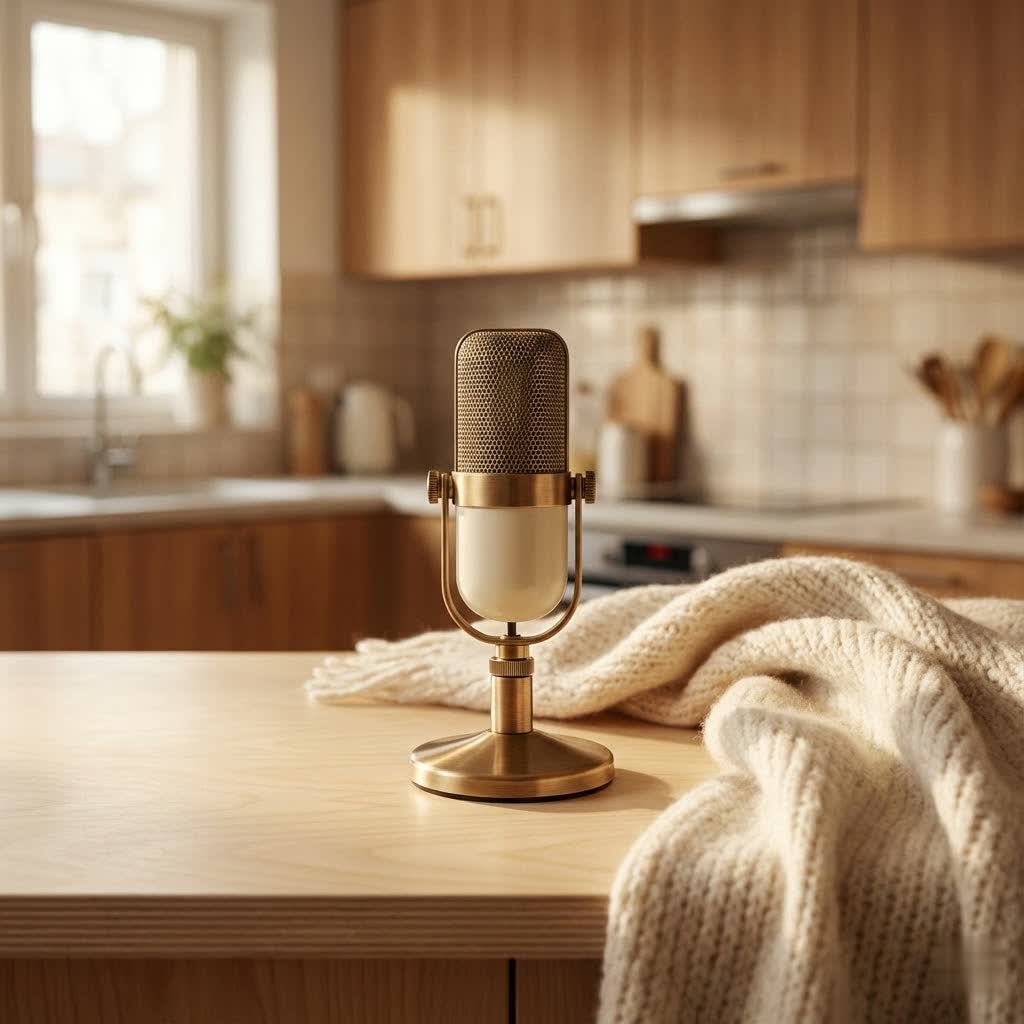
Essential Studio Mic Types for Your Music Production
When you’re building out your gear arsenal, understanding the different types of microphones is like knowing the distinct brushes an artist uses. Each one has its unique strengths, perfect for specific sonic textures.
Condenser Microphones: The Detail Magnets
Condenser microphones are often hailed as the gold standard for studio recording, and for good reason. They are incredibly sensitive and boast a wide frequency response, making them adept at capturing the intricate details and subtle nuances of sound. This makes them an excellent mic for music studio tasks, especially for vocals and acoustic instruments.
- Large Diaphragm Condensers (LDC): These are your go-to for rich, detailed vocals and a broad range of acoustic instruments like pianos and acoustic guitars. They typically offer a warm and full sound. Think of classic studio vocal recordings – chances are, an LDC was involved.
- Small Diaphragm Condensers (SDC): With their faster transient response, SDCs excel at capturing sharp, percussive sounds. They are fantastic for drum overheads, cymbals, hi-hats, and even string instruments where clarity and detail are paramount.
|
Our Picks for the Best Studio Mic in 2026
As an Amazon Associate I earn from qualifying purchases.
|
||
| Num | Product | Action |
|---|---|---|
| 1 | RØDE NT1 Signature Series Large-Diaphragm Condenser Microphone with Shock Mount, Pop Filter and XLR Cable for Music Production, Vocal Recording, Streaming and Podcasting (Black) |

|
| 2 | Studio Recording Microphone Isolation Shield with Pop Filter and Metal Tripod Stand, Studio Mic to PC Laptop Smartphone, Music Microphone for Recording Singing Podcasting |
|
| 3 | AKG Pro Audio P120 - Affordable 2/3-Inch Diaphragm Condenser Microphone for Clear Vocals & Instruments. Studio Recording or Live. XLR Connector. Black |
|
| 4 | RØDE NT1 5th Generation Large-diaphragm Studio Condenser Microphone with XLR and USB Outputs, Shock Mount and Pop Filter for Music Production, Vocal Recording and Podcasting (Black) |
|
| 5 | Upgraded Studio Recording Microphone with Isolation Shield & Pop Filter - Music Condenser Mic for Podcasting, Singing, Home Studio - Sound for PC, Laptop, Smartphone |
|
| 6 | Condenser Microphone,PC Computer Podcast USB Condenser Microphone Cardioid Metal Mic Kit for Recording, Podcasting, Home Studio, YouTube, Black, BM-800 |
|
| 7 | Shure SM7B Vocal Dynamic Microphone – XLR Studio Mic for Podcasting, Recording, Broadcasting, Streaming & Gaming – Smooth, Warm Sound, Rugged Build, Detachable Windscreen, Wide Frequency Range, Black |
|
| 8 | Audio-Technica AT2020 Cardioid Condenser Studio XLR Microphone, Ideal for Project/Home Studio Applications, Black |
|
| 9 | USB Microphone, MAONO 192KHZ/24Bit Plug & Play PC Computer Podcast Condenser Cardioid Metal Mic Kit with Professional Sound Chipset for Recording, Gaming, Singing, YouTube (AU-A04) |
|
| 10 | Shure SM4 Studio Recording Microphone Kit, XLR Home Studio Condenser Mic with Mix-Ready Audio - All-Metal Construction, Includes Detachable Magnetic Pop Filter & Shock Mount (SM4-K-KIT) |
|
The upside? Pristine audio quality and the ability to capture every breath and pluck. The downside? They require phantom power (+48V) from your audio interface or preamplifier, and their sensitivity can also pick up more unwanted room noise if your space isn’t acoustically treated.
“For intricate vocal performances, a large-diaphragm condenser is almost always my first choice,” shares sound design expert, Elara Vance. “Its ability to capture both the raw power and the delicate whispers is unparalleled.”
Dynamic Microphones: The Workhorses of the Studio
Dynamic microphones are the rugged heroes of the recording world. Known for their durability and ability to handle extremely high sound pressure levels (SPLs), they are less sensitive than condensers and are fantastic for louder sources.
- Pros: Built like tanks, dynamic mics can take a beating and still perform flawlessly. They’re also excellent at rejecting off-axis sounds, which is great for minimizing bleed from other instruments in a live-off-the-floor session.
- Applications: They shine on drums, electric guitar amplifiers, and powerful vocals. Iconic dynamic mics like the Shure SM57 are staples in almost every professional studio for recording instruments due to their reliability and robust sound. The Shure SM7B, another dynamic legend, is a favorite for broadcast and studio vocals, offering a smooth, controlled sound.
If you need a reliable mic for music studio duties that can handle the raw power of a rock band, a dynamic mic is your steadfast companion.
Ribbon Microphones: Warmth and Vintage Vibe
Ribbon microphones hold a special place for their unique sonic character: warm, smooth, and incredibly natural. They often provide a pleasing coloration to sound, especially for sources that might be a bit harsh or bright.
- Pros: They excel at capturing mid-range frequencies beautifully, making them a superb choice for certain vocalists, acoustic guitars, and brass instruments. Many engineers use them to “tame” bright cymbals or aggressive guitar tones.
- Cons: Ribbon mics are notoriously delicate. The thin metallic ribbon inside can be damaged by strong blasts of air or phantom power (unless designed to handle it). They also tend to have a lower output, often requiring a high-quality preamp.
If you’re chasing that classic, vintage sound, a ribbon mic for music studio endeavors can be an invaluable asset, but handle it with care!
Understanding Polar Patterns: Your Mic’s Listening Direction
A microphone’s polar pattern describes how sensitive it is to sounds coming from different directions. Choosing the right pattern is crucial for isolation, capturing room ambiance, and managing feedback.
- Cardioid: This is the most common pattern, picking up sound primarily from the front while rejecting sounds from the sides and rear. It’s ideal for isolating a single vocalist or instrument and minimizing background noise, especially in untreated rooms.
- Omnidirectional: An omni mic picks up sound equally from all directions. This is excellent for capturing the natural ambiance of a room, recording choirs, or situations where you want a natural, open sound with less proximity effect.
- Figure-8 (Bidirectional): This pattern picks up sound equally from the front and back, while rejecting sound from the sides. It’s commonly found in ribbon microphones and is essential for techniques like Mid/Side (M/S) stereo recording.
Mastering Professional Recording Techniques with Your Studio Mic
Having the right mic for music studio work is only half the battle; knowing how to use it effectively is where the magic truly happens. Proper microphone techniques can dramatically improve your sound quality before you even touch an EQ knob.
Optimal Microphone Placement: The Sweet Spot
Mic placement is an art form. Small adjustments can yield vastly different sonic results.
- Distance is Key: For vocals, a good starting point is often 6-12 inches from the singer. Getting too close to a directional mic can exaggerate bass frequencies due to the “proximity effect,” making the voice sound muddy. Moving further away can create a thinner sound, useful for background vocals.
- Angle Matters: Experiment with pointing the mic slightly off-axis (not directly at the mouth) for vocalists prone to “plosives” (harsh ‘P’ and ‘B’ sounds). Aiming a mic slightly down towards the chest can sometimes yield a fuller, “chesty” sound, while aiming upwards can lighten a heavy vocal.
- Instrument-Specific Placement: For acoustic guitars, try placing a mic around the 12th fret for a balanced sound, or closer to the sound hole for more bass. For drums, multiple mics are typically used: close mics for individual drums, and overheads for cymbals and the kit’s overall sound.
Taming Unwanted Noise: Pop Filters and Beyond
Even the best mic can sound poor if not used with proper accessories and a good environment.
- Pop Filters: These mesh screens are essential for vocal recordings. Placed a few inches between the singer and the microphone, they diffuse bursts of air from plosives, preventing them from overloading the mic capsule and creating unpleasant “popping” sounds.
- Shock Mounts: A good shock mount isolates your microphone from vibrations transmitted through the mic stand, such as footfalls or bumps, which can otherwise introduce distracting low-frequency rumble into your recording.
- Acoustic Treatment: This is paramount. Even the most expensive mic for music studio applications will pick up unwanted room reflections and echoes in an untreated space. Simple solutions like heavy curtains, rugs, and strategically placed bookshelves can significantly improve your room’s acoustics.
Stereo Miking Techniques: Adding Depth to Your Sound
For instruments like acoustic guitar, piano, or drum overheads, stereo miking can create a sense of space and width that mono recording cannot.
- A-B Technique: Uses two parallel omnidirectional microphones spaced some distance apart to capture time-of-arrival stereo information.
- X-Y Technique: Employs two directional microphones (usually cardioid) placed with their capsules as close as possible, angled at 90-120 degrees to each other. This creates a strong stereo image with good mono compatibility.
- Mid/Side (M/S) Technique: A powerful method using a cardioid mic (Mid) and a figure-8 mic (Side) to create a flexible stereo image that offers excellent mono compatibility.
Audio Processing with Your Mic for Music Studio
Once your sound is captured, the journey continues with audio processing. This is where you sculpt and refine the raw recording into a polished masterpiece.
The Role of an Audio Interface and Preamp
Your audio interface is the bridge between your analog microphone signal and your digital computer. It contains crucial preamplifiers that boost your mic’s signal to a usable level and analog-to-digital converters that turn sound waves into data your computer understands. Phantom power for condenser mics is also typically supplied by the interface.
“Never underestimate the importance of a good preamp,” advises Elara Vance. “It’s not just about gain; it’s about the character and clarity it imparts to your signal before it even hits your DAW.”
Essential Software and Plugins
Your Digital Audio Workstation (DAW) is your virtual studio, where you record, edit, mix, and master. Common DAWs include Pro Tools, Logic Pro, Ableton Live, and FL Studio. Within your DAW, plugins are your digital tools for audio processing:
- EQ (Equalization): Shapes the tonal balance, allowing you to boost or cut specific frequencies to make an instrument sit better in the mix or enhance its character.
- Compression: Reduces the dynamic range of a signal, making quiet parts louder and loud parts quieter, resulting in a more consistent and impactful sound.
- Noise Reduction: Plugins can help clean up unwanted background hums or hisses, though it’s always best to capture a clean signal at the source.
Choosing the Perfect Mic for Music Studio Needs
With so many options, how do you pick the perfect mic for music studio work? It boils down to a few key considerations.
Defining Your Purpose: Vocals, Instruments, or Both?
The first question to ask yourself is what you’ll be primarily recording. If it’s mainly vocals, a large-diaphragm condenser might be your top pick. If you’re miking a loud drum kit, a few dynamic mics will be essential. For a versatile home studio setup, a good large-diaphragm condenser can often handle both vocals and acoustic instruments effectively.
Budget Considerations: Quality at Every Price Point
You don’t need to break the bank to get a quality mic for music studio use. There are excellent options at every price point. Budget-friendly condensers like the Audio-Technica AT2020 offer superb value, while industry-standard dynamics like the Shure SM57 are surprisingly affordable. Focus on getting the best quality you can afford, as a good microphone is a long-term investment.
Understanding Your Recording Environment
Is your studio acoustically treated and quiet, or is it a spare bedroom with some background noise? If your room is noisy, a dynamic microphone with its lower sensitivity and better off-axis rejection might be more forgiving than a sensitive condenser.
Key Specifications to Look For: Frequency Response, SPL, Self-Noise
- Frequency Response: This indicates the range of frequencies the microphone can capture. A “flat” response generally means a more natural sound, while some mics have tailored responses to enhance certain frequencies.
- Sound Pressure Level (SPL): This measures how loud a sound a microphone can handle before distorting. High SPL handling (e.g., 130dB+) is crucial for loud sources like drums or guitar amps.
- Self-Noise (or Noise Floor): This is the inherent electrical noise generated by the microphone itself. A lower self-noise figure (e.g., below 10-15 dBA) is vital for clean recordings, especially of quiet sources.
Caring for Your Mic for Music Studio: Maintenance Tips
Your microphones are delicate instruments and deserve proper care to ensure their longevity and consistent performance.
- Handle with Care: Always treat your microphones gently. Avoid dropping them or exposing them to harsh impacts. Ribbon mics, in particular, are very fragile.
- Proper Storage: When not in use, store your microphones in their protective cases or pouches. This shields them from dust, moisture, and accidental damage.
- Keep it Clean: Use a soft, dry cloth to wipe down the microphone body. For grilles, a soft brush can carefully remove dust. Avoid using liquids or abrasive cleaners.
- Disconnect Properly: Always turn off phantom power on your audio interface before connecting or disconnecting condenser microphones to prevent potential damage.
Frequently Asked Questions
What is the best all-around mic for a music studio?
While there’s no single “best” for every situation, a large-diaphragm condenser microphone like the Audio-Technica AT2020 or Rode NT1 is often recommended as a versatile starting point for a home studio due to its ability to capture detailed vocals and acoustic instruments effectively.
Do I need phantom power for my studio mic?
Yes, condenser microphones require +48V phantom power to operate. This power is usually supplied by your audio interface or a dedicated preamplifier through an XLR cable. Dynamic and most ribbon microphones typically do not require phantom power.
How do I reduce background noise when recording?
Start by improving your recording environment with acoustic treatment (e.g., blankets, rugs, foam panels). Use a microphone with a cardioid polar pattern, place it close to the sound source, and use a pop filter and shock mount.
What’s the difference between large and small-diaphragm condensers?
Large-diaphragm condensers (LDC) are generally favored for vocals and acoustic instruments due to their rich, detailed sound. Small-diaphragm condensers (SDC) have a faster transient response and are excellent for capturing percussive elements like drums, cymbals, or acoustic guitar strumming with precision.
Can I use a dynamic mic for vocals in a studio?
Absolutely! Dynamic microphones like the Shure SM7B are widely used for studio vocals, especially for genres requiring a robust, controlled sound or for vocalists with powerful voices. They also excel in less-than-perfect acoustic environments.
How often should I clean my studio mic?
Regular light cleaning after each use is a good practice to prevent dust buildup. A more thorough, gentle cleaning can be done periodically, especially for the grille, but avoid excessive cleaning or using harsh chemicals to protect the delicate internal components.
Your Sound, Amplified
Choosing the right mic for music studio recording is a fundamental step towards achieving professional-sounding music. It’s about understanding the unique characteristics of each microphone type, mastering placement and technique, and treating your gear with the respect it deserves. From the detailed capture of a condenser to the robust nature of a dynamic, and the warm vintage tone of a ribbon mic, each has its place in a well-equipped studio.
At Tmava, our goal is to empower you with the knowledge to make confident choices. Experiment, listen critically, and trust your ears. The journey of sound is a continuous learning process, and with the right mic in hand and these insights, you’re well on your way to crafting recordings that truly resonate. Go forth, create, and let your music speak volumes!